

Best practices for the gauge KPI visualization
A gauge visualization shows you where you stand right now, relative to where you need to be. This post covers three best practices for building gauge KPIs in Klips: keeping one metric per gauge, matching the gauge style to the metric, and using colour states to signal status at a glance. Follow these rules and your team stops guessing and starts acting.
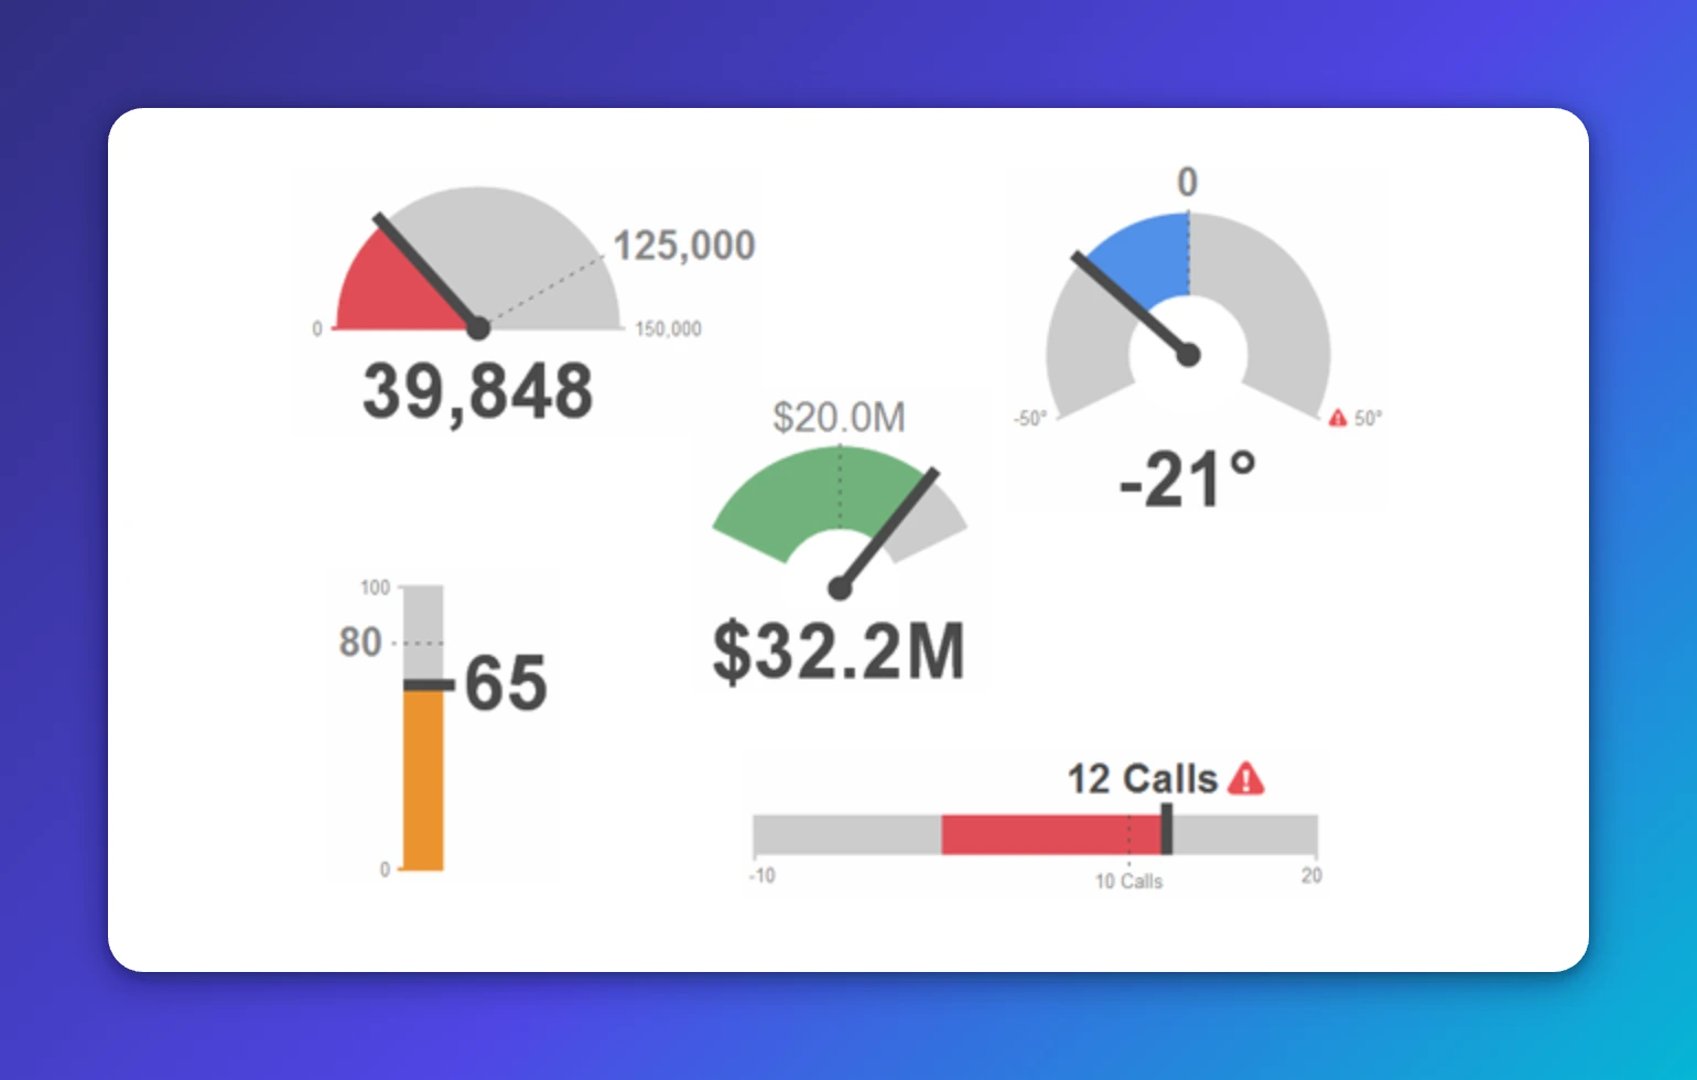
Comparing a business dashboard to a car's instrument panel is an analogy that holds up. Both monitor live metrics that change fast. Both tell you when something needs attention before it becomes a problem. And in both cases, gauges do the heavy lifting.
A gauge shows you where you stand right now, relative to where you need to be. That's the whole point. Not a trend line, not a breakdown by segment. Just: are you on track or not?
For business dashboards, that means connecting a current value to a predefined target so anyone who looks at the screen knows immediately what's going on. No digging, no explaining, no pasting numbers into a spreadsheet or asking someone to pull a report.
Take a speedometer. If you see 50 mph, you still don't know if you're speeding or coasting. Context is missing. A KPI gauge solves that by anchoring the number to a target and a state. Green means you're fine. Red means act now.
Here are three best practices for building gauges that give your team that kind of instant clarity.
Best practices for gauge KPI visualizations
1. One gauge, one metric
Resist the urge to pack more into a single gauge. One metric per gauge keeps the visual clean and the message clear. Your gauge already carries a current value and a target. That's enough information to make a decision.
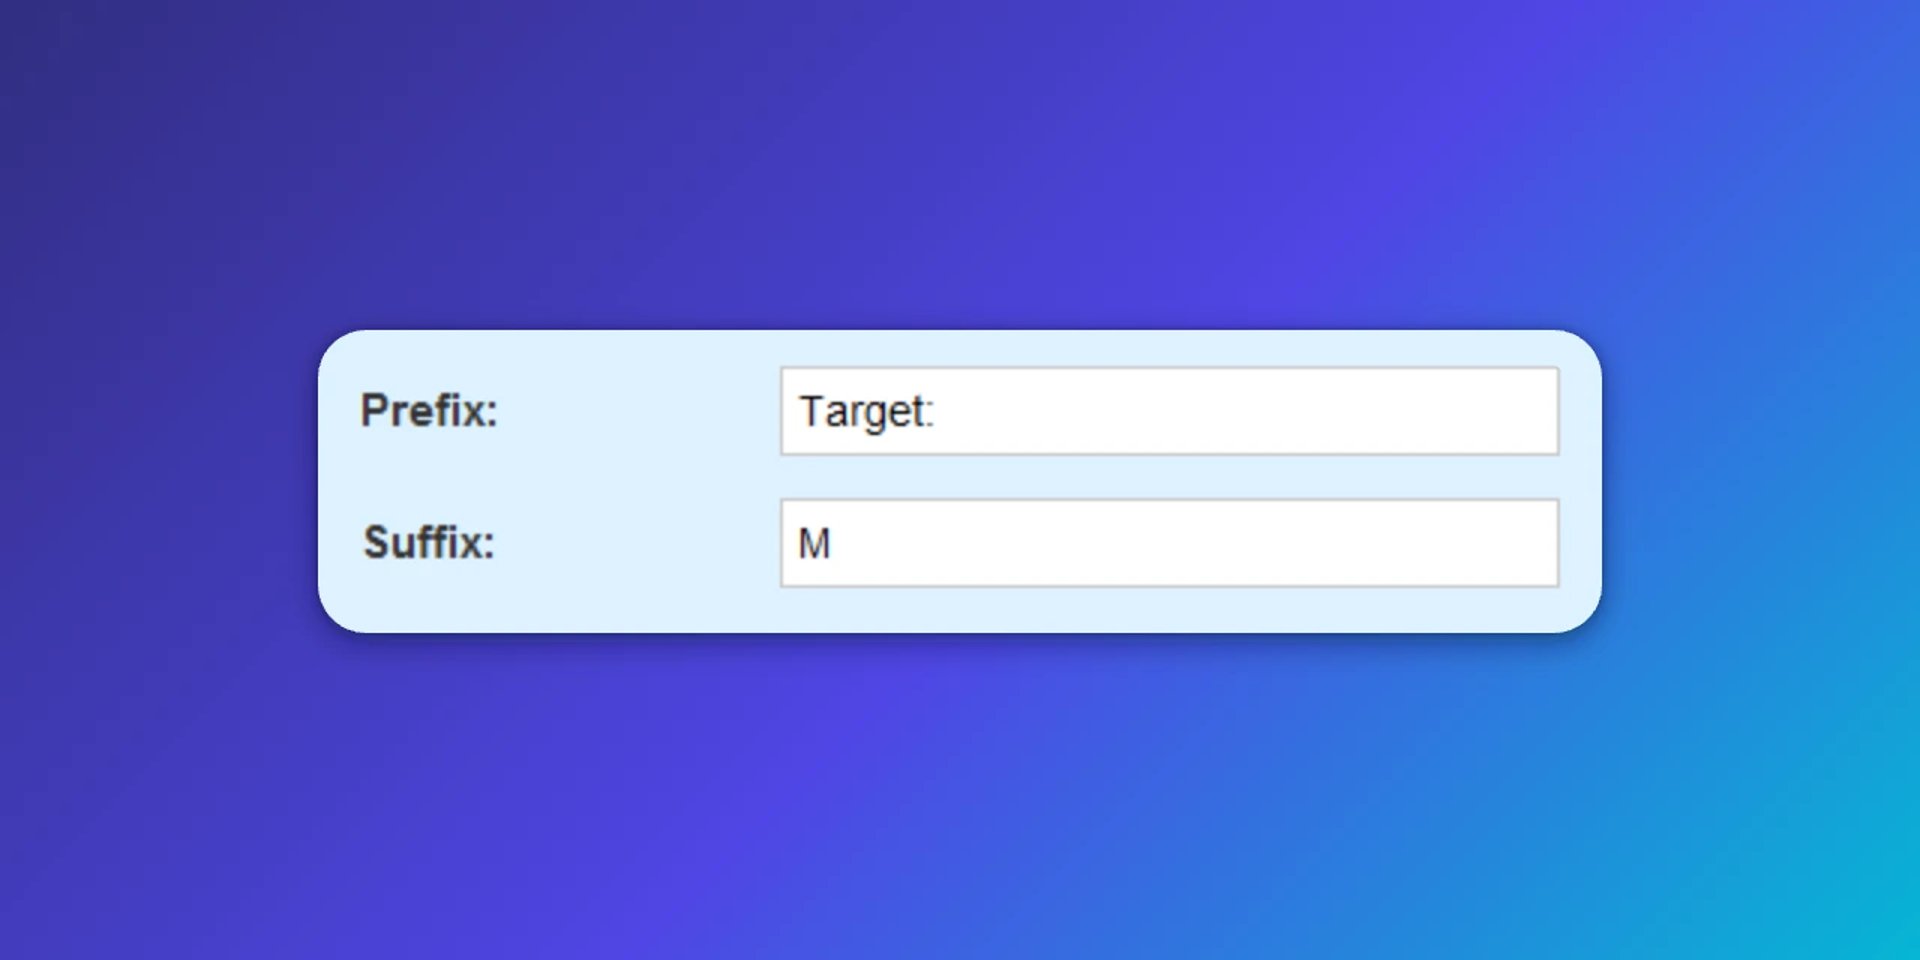
In Klips, you can use the prefix and suffix options to add units like currency symbols or percentage signs, so the number reads correctly without adding visual noise.
2. Match the style to the metric
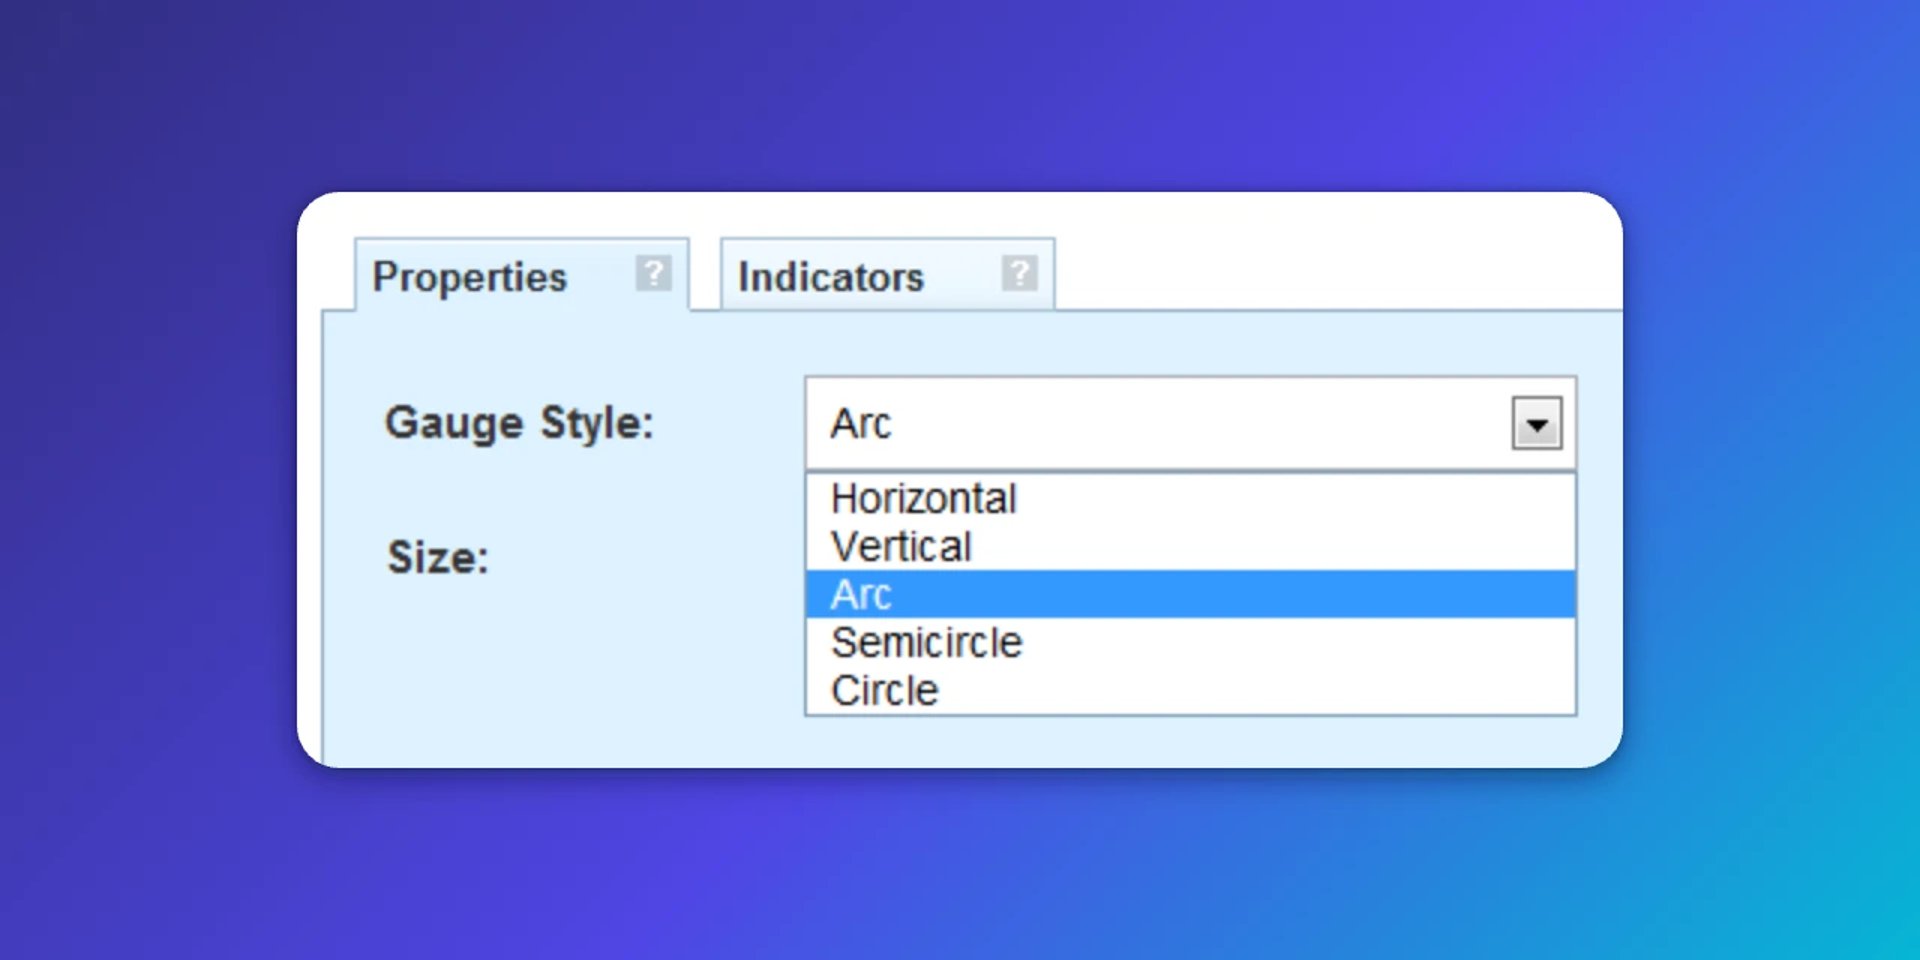
Klips offers multiple gauge styles, including horizontal bars and arcs. Switching between them takes a single menu selection, so you can test different formats before you publish. The right choice depends on your metric and your audience. Arc gauges work well for single-percentage metrics like capacity or quota attainment. Horizontal gauges can feel more intuitive for volume-based numbers.
The goal is to make the data readable at a glance for anyone who opens the dashboard, not just the person who built it.
3. Use colour to signal status
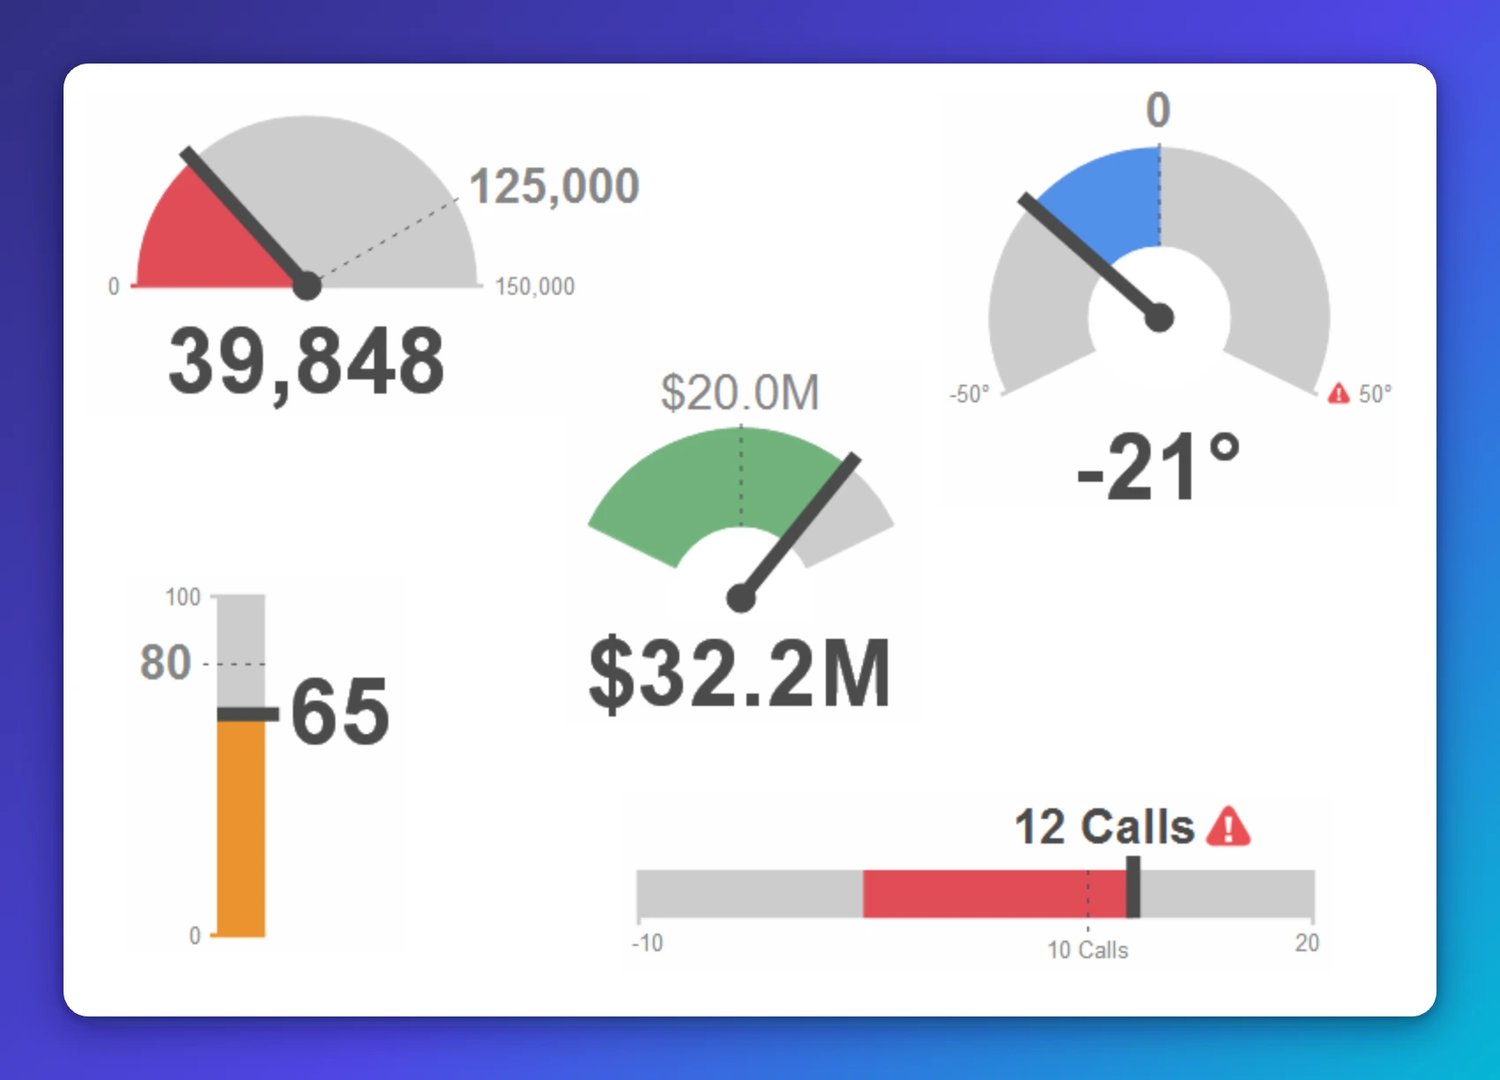
Colour removes ambiguity. Green means on track. Red means attention required. You don't need a legend or a footnote. Klips gauges support colour states and icons through the indicators feature, so you can define thresholds for each metric and let the dashboard do the communicating.
This is what separates a gauge that informs from one that just displays. When a leader opens the dashboard, they shouldn't have to interpret the number. The colour has already done that.
Create custom dashboards for you and your team.
Get started with KlipsBuild gauges that tell you what to do next
A well-built gauge doesn't just show a number. It tells you whether to act, and how urgently. One metric, the right style, and clear colour states are all it takes to make that happen. Your team stops guessing and starts moving.
Updated 2026-09-09
More in Dashboards

The starter guide to dashboard design
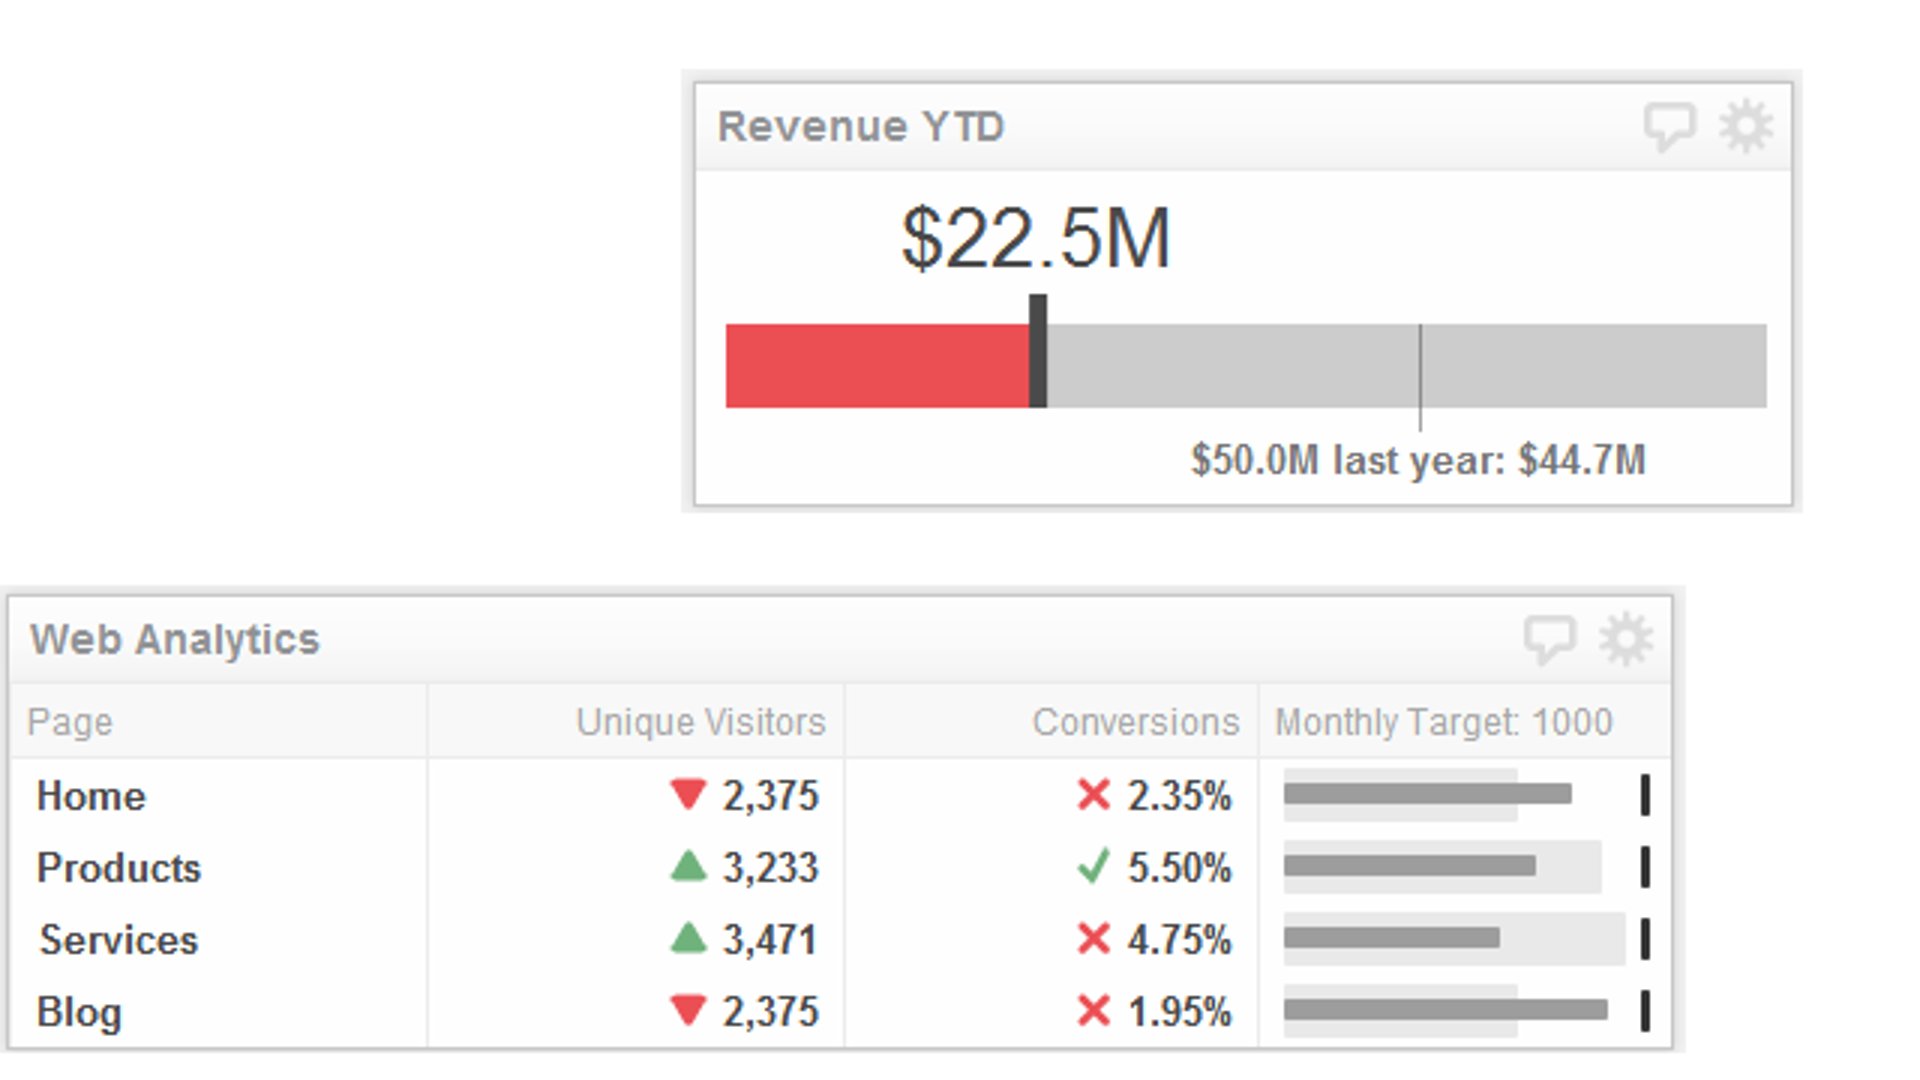
Ready, aim, fire! How a simple bullet chart can help you hit your targets

What is data visualization?
The best chart for the job: Visualizing data for non-technical users
SMB dashboarding in 2026: Trends shaping reporting
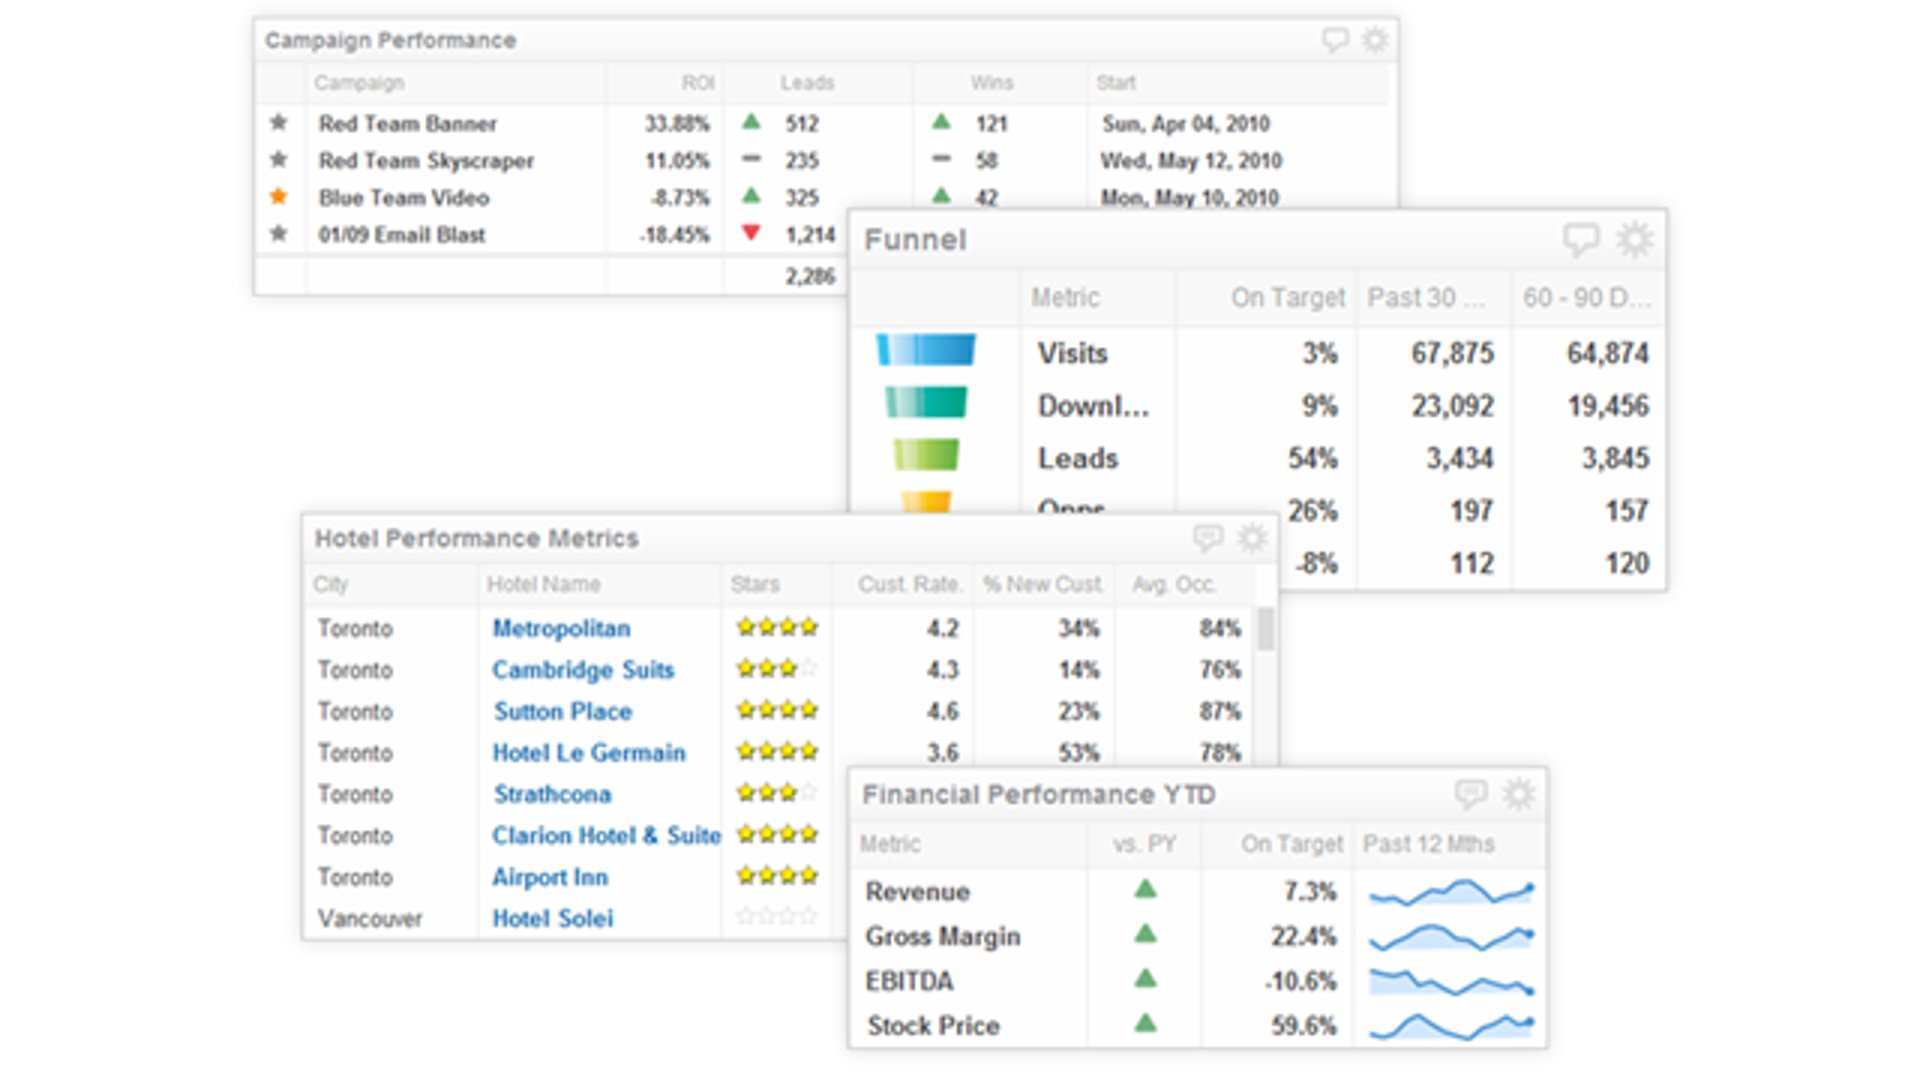
Table component overview: turning the tables on data visibility
Most recent
- SEP 25What SOC 2 taught a small team about trust
- SEP 15The AI race: progress, humanity, and trust
- SEP 9The good advisor
- AUG 11Beyond simple sign-ups: how True Trials and Activation predict growth
- JUL 7Why business leaders miss important trends in their dashboards
- JUN 19The best chart for the job: Visualizing data for non-technical users