
Summary - Curious about what a workflow is and how you can use workflow diagrams? Learn the process & simplest approaches to get work done.
What is a workflow?
Workflow. You’ve probably heard this word tossed around here and there on multiple occasions but what is it exactly? In simple terms, a workflow is how you get work done. It is a series of tasks that need to be complete in order to reach a repeatable organization goal. The keyword here is repeatable. Defining a workflow involves something that you do on a regular basis and in a sequence. It’s not a one-off quick to-do or a massive project with many to-dos, and it’s not a process.
From undone to done, and raw to processed.
In nitty-gritty terms, a workflow is a sequence of tasks that processes a set of data. According to Kissflow, if data isn’t moving, you don’t have a workflow. No matter what business or industry you work in, workflows occur. Anytime data is passed between humans or systems, a workflow is created.
One step further.
A workflow diagram provides a visual step-by-step overview of your work sequence from start to finish using symbols and shapes. It also shows who is responsible for work at each point in the sequence. Workflow diagrams are useful to help individuals and teams understand their roles and the order in which their work should be completed, creating more unity amongst different departments.
A little history lesson.
Does the name Gantt ring a bell? As in Gantt chart Gantt? The workflow diagram we know today can be traced back to the late 1880s, found written in a railway engineering journal. The founding fathers of workflows? Frederick Winslow Taylor, a leading champion of scientific management, and mechanical engineer/management consultant Henry Gantt. They were two of the first few to study the rational organization of labor - specifically during the industrial revolution. Why? Because with huge workforces and heavy duty machinery available, business owners needed to know how to harness that big energy in order to get work done. Kind of cool right?
As the workplace became more tech-savvy with the arrival of the copier and the typewriter, the ability to dive deeper into workflow research and knowledge sharing grew. Today, workflows are everywhere and extremely easy to create.
The workflow process.
From manual to automated workflow diagrams, there’s many approaches you can take. I’ll just give you the low-down.
Already winning the workflow game?
When redesigning workflows, make sure you perform a thorough workflow analysis, helping you identify critical areas of your work sequence. This will expose possible weaknesses such as redundant tasks, bottlenecks and inefficiency in workplace layouts. Consider overall company, team, and individual goals, every task big and small that goes into the workflow, and who’s involved, ensuring you’re always able to answer the question why when analyzing your work flow diagram.
Also, keep in mind how the process currently works - known as the "as is" process, and whether or not their will be a “to be” process, meaning how you want the new workflow diagram to look.
Just getting comfortable with workflow diagrams? Let’s start from scratch.
1. First, determine what point of view you are using to define your workflow diagram: the business or the business’ customers.
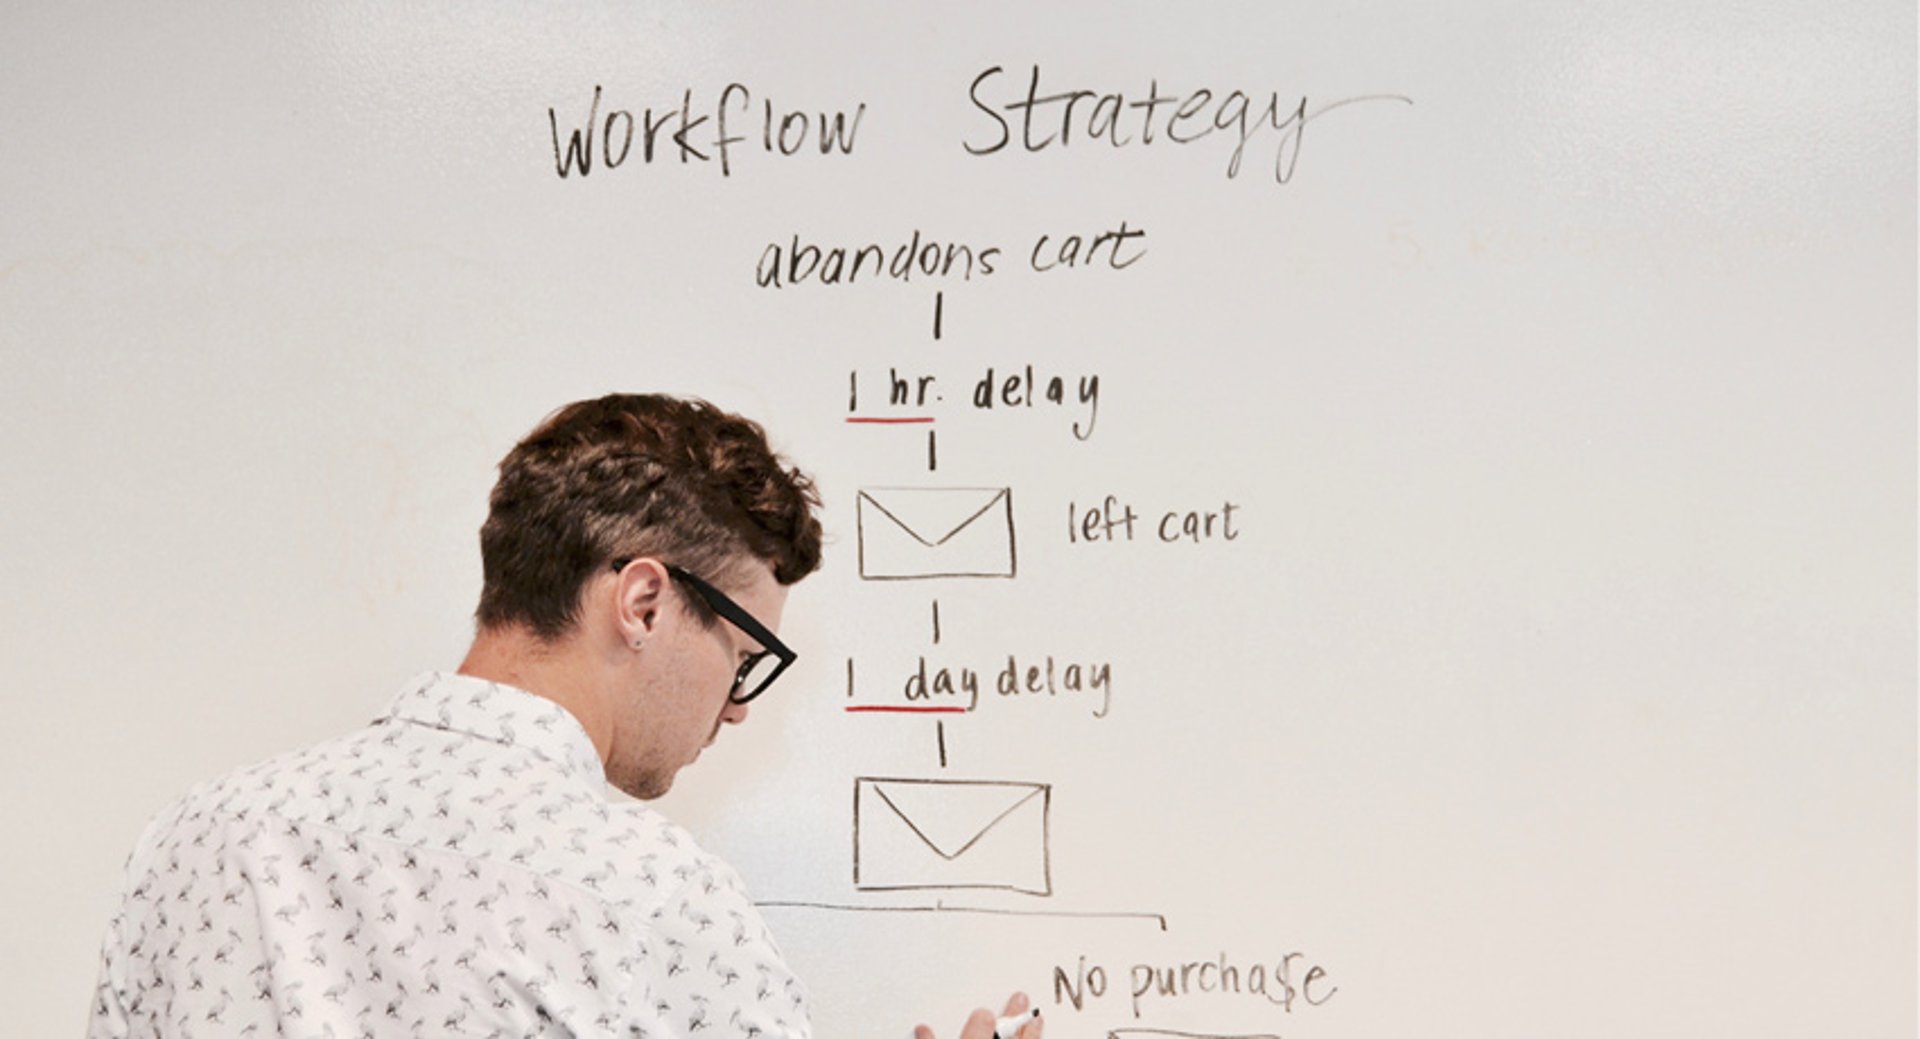
2. Next, sketch out your current business process. It’s okay if it’s rough. Consider this a high-level overview that displays the key steps in your sequence. Use a whiteboard, post-it notes, napkin, software - whatever makes you think your best for this version. This includes tasks and activities that repeatedly happen in your organization. *Note: If you’re looking to map out a workflow diagram just for your team, use your team’s key steps and process.
3. After you’ve created your initial diagram, you’re ready to jump in. Now you’ll want to gather details from the individuals involved in each step outlined.
During this phase, ask your company employees or specific team members the following:
- What’s your overall goal?
- What defines the beginning and end of the business process?
- What tasks are involved in each step, and who is involved?
- Does anything happen next?
- Are there any times you swerved away from the set process? When?
4. After you have all of the information you need, conduct a workflow analysis (as I mentioned a little earlier). Remember:
- Group your tasks: If you want to quickly pinpoint weak areas in your flow, rank the tasks based on importance with labels such as: vital, useful, not necessary, and remove. You can also organize these tasks by department or individual where you see fit.
- Consider your weaknesses: Again, look for redundancies, bottlenecks, double data entries and multiple steps that cause delays in your process.
- Always think ahead: Now is a good time to ensure that your team/company and workflow is aligning with future goals. Think three to five years from now.

5. Yay! Now you’re ready to get your design on. *Takes a few swigs of coffee.*
6. You are now at the point where you need to decide if you are designing a manual workflow or an automated workflow.
Put simply, in a manual workflow, someone on your team is responsible for pushing each piece of data or component from one task to the next. This in turn can lead to an abundance of emails, pings, nudges, approvals, and updating spreadsheets or other documentation by hand. Sounds like a hefty job but it can be done.
On the other hand, when an individual completes a task in the workflow sequence, an automated workflow created by workflow software will pass the data on to the next task itself. The software manages the flow of tasks including notifications, reminders, timelines, and deadlines. Tracking components becomes much easier and efficient this way. Other benefits of using a workflow software include: saving the minutes in your day, establishing accountability and giving clearer visibility into the workflow diagram.
7. Next, is choosing how you want to display your workflow diagram. According to Lucidchart, there’s 5 main types of displays. You can define workflows using: ANSI flowchart, UML activity, BPMN, swimlane, and SIPOC.
- ANSI flowchart: This was the first standard for workflows and uses symbols from the American National Standards Institute to provide a common language for describing the steps in the sequence.
- UML Activity: Uses Unified Modeling Language to graphically represent the order of steps in the sequence and the flow of control.
- BPMN: The Business Process Modeling Notation uses a flowchart technique similar to UML, serving as a common language and focuses on business processes and information, meaning internal processes rather than output.
- Swimlane: Separates each unit within an organization, emphasizing interaction and a high-level view of potential inefficiencies.
- SIPOC: The Supplier-Input-Process-Output-Customer vividly shows who creates and receives the data and outlines the high-level process involved.

8. Make it your own. Manual or automated, you have the opportunity to make your workflow diagram yours. Add some colour and use some shapes. Here’s a few common ones:
- Oval: Start and finish points of the workflow sequence.
- Rectangle: Instructions or actions.
- Diamond: Indicates a yes or no decision, breaking the workflow into two distinct paths.
- Circle: Connector to tasks, separated by arrows.
- Arrow: Points to the next step in the sequence.
9. Use it. Once your workflow diagram is complete, get comfortable with it. Share it with your team and/or company to get everybody on board and on the same track. The more you jive with workflows, the more work you can get done, the more productivity possibilities.
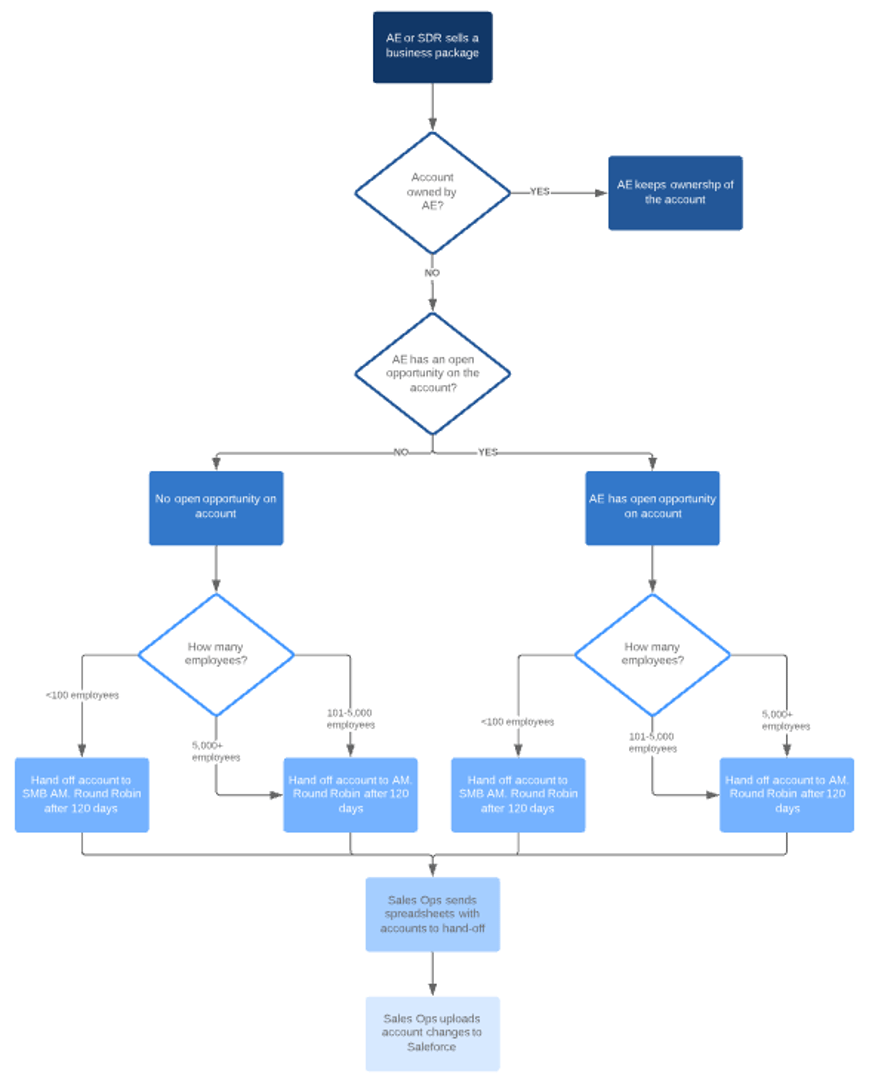
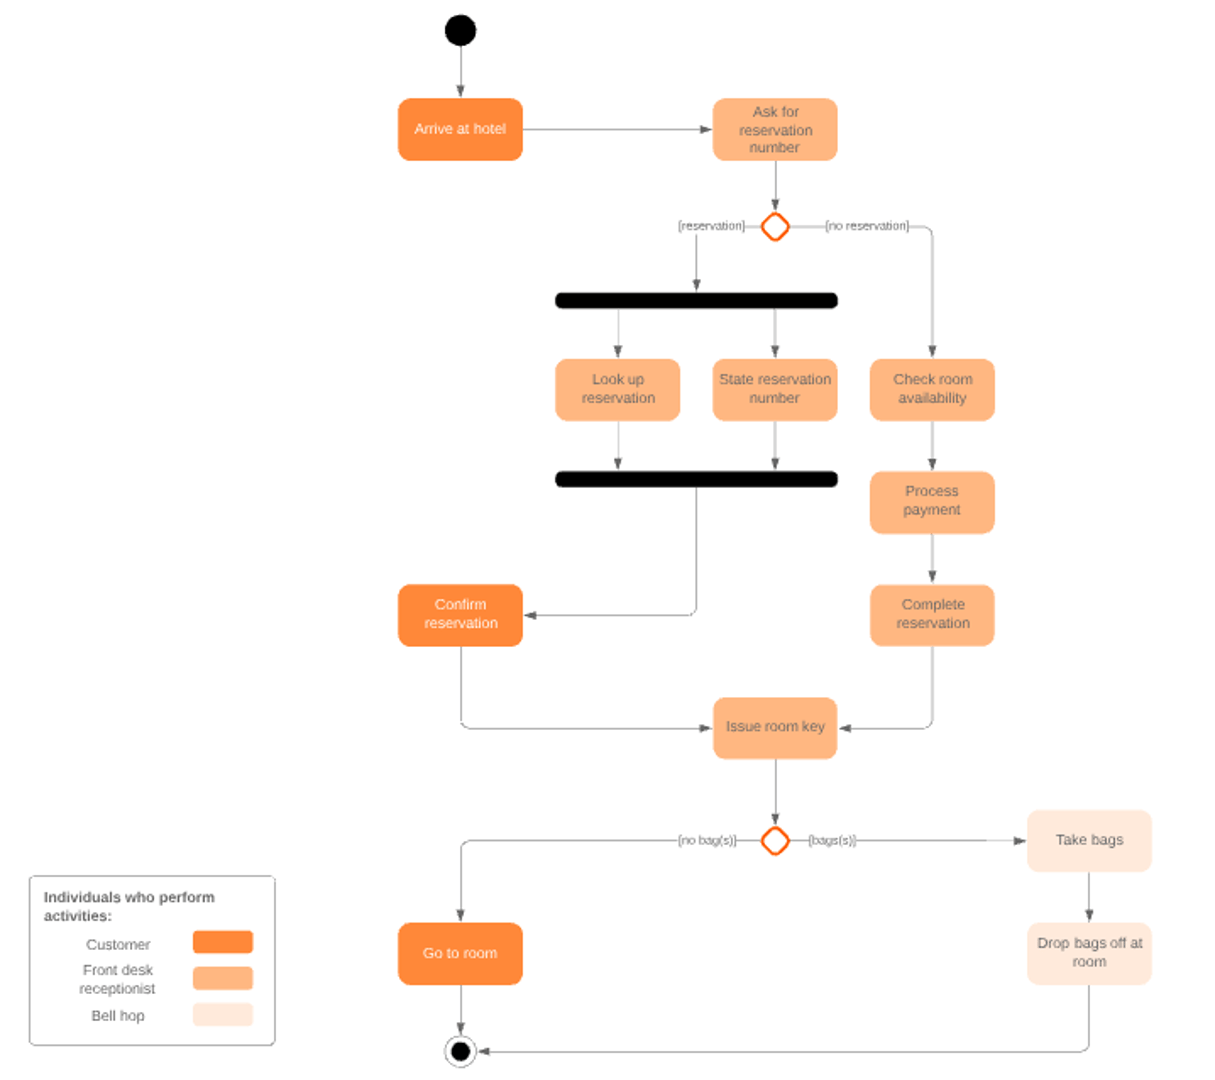
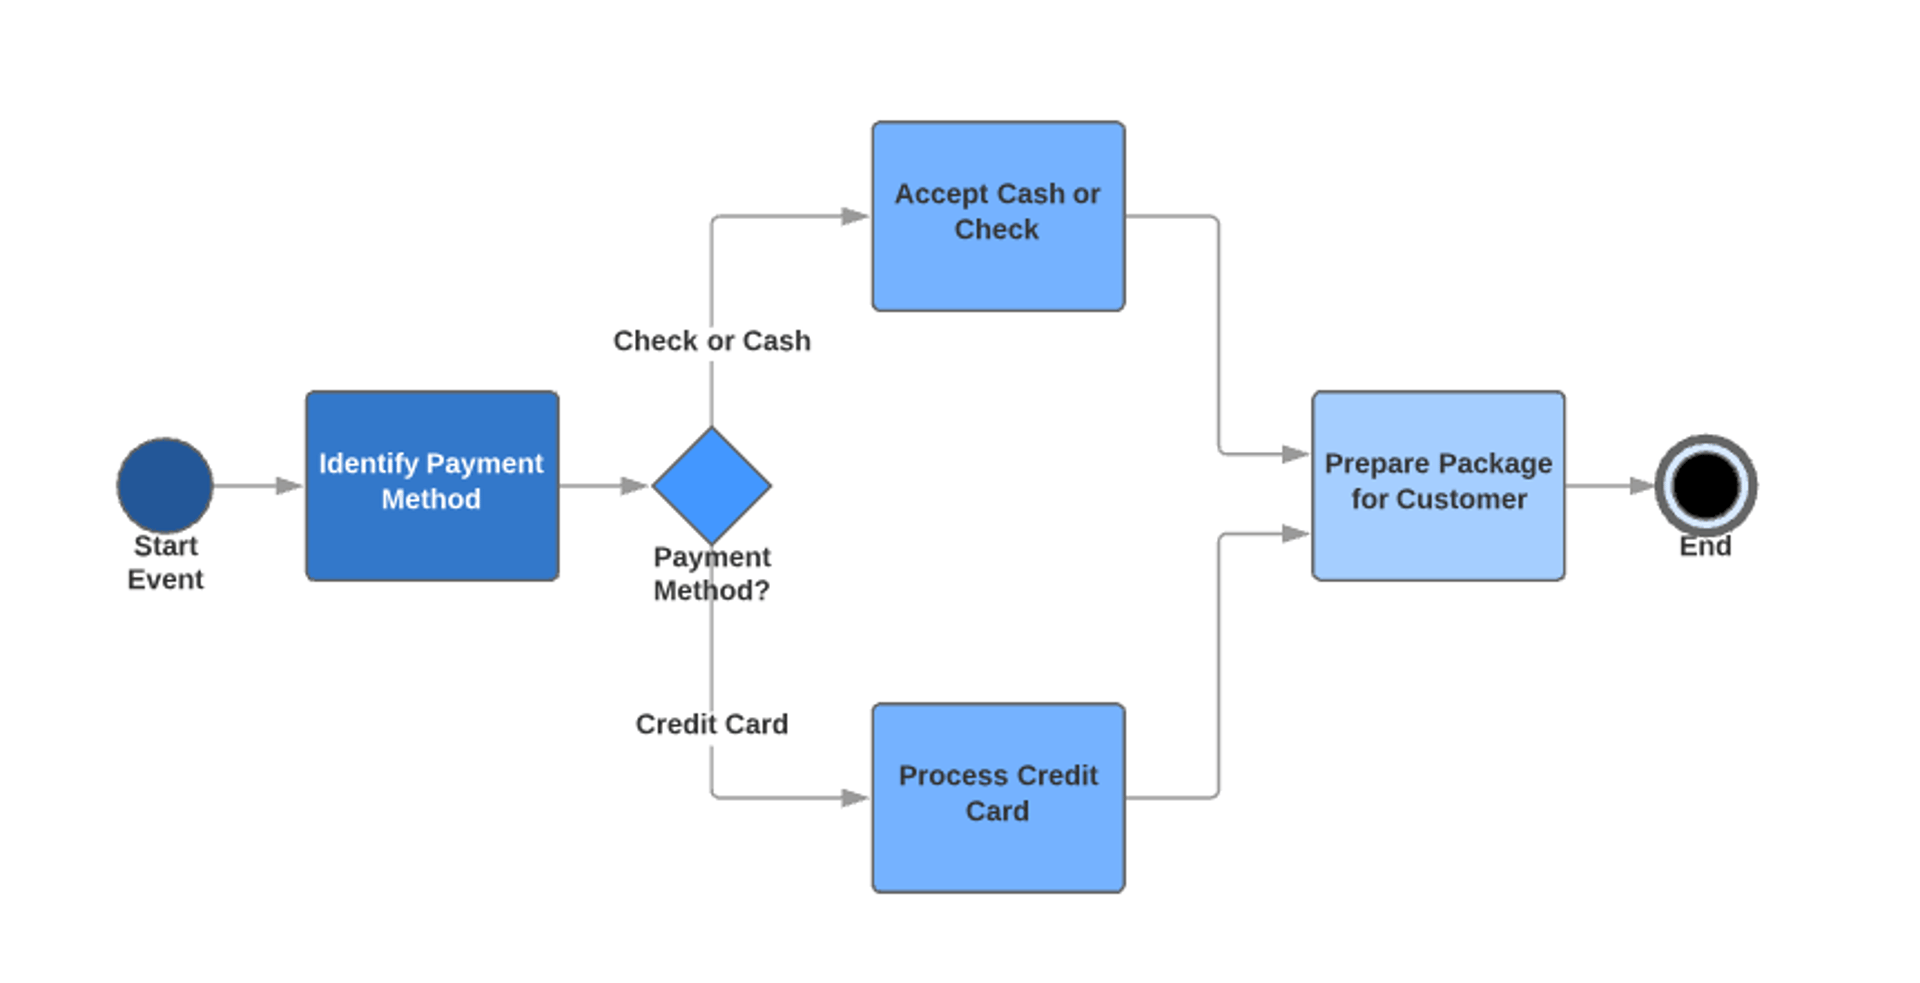
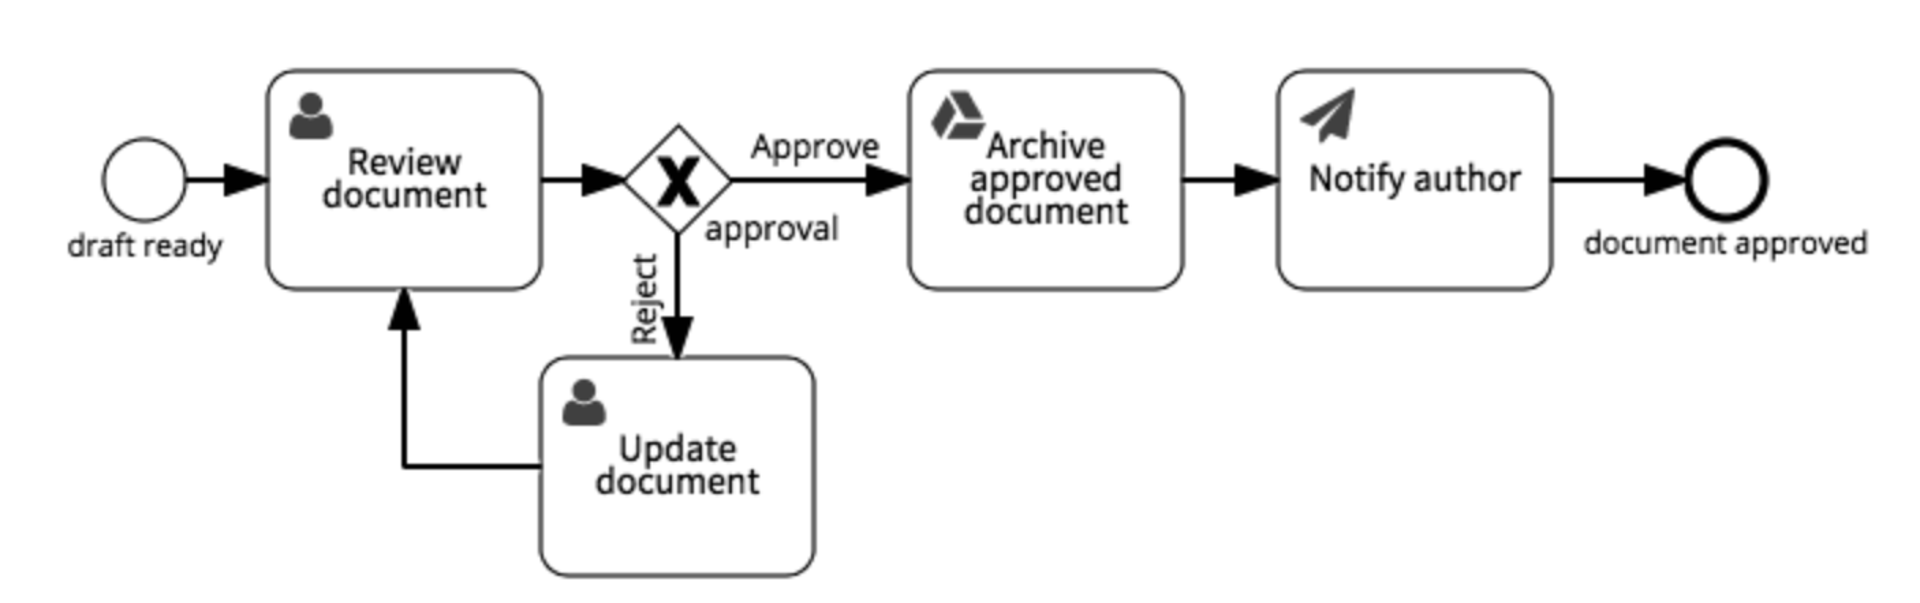
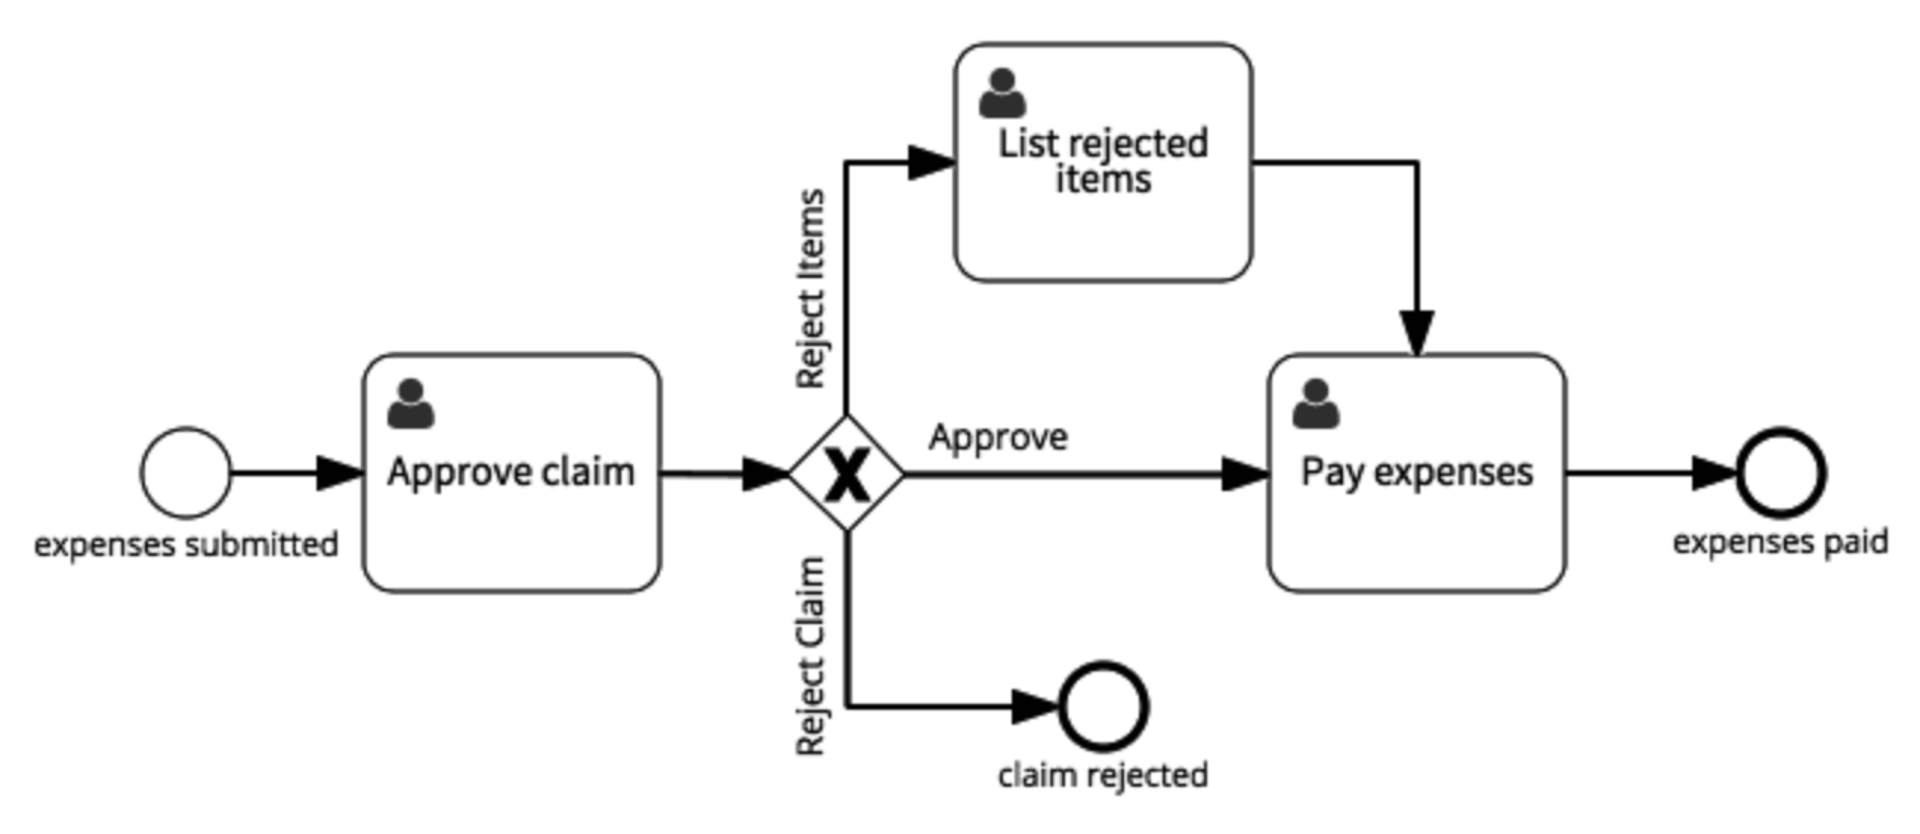
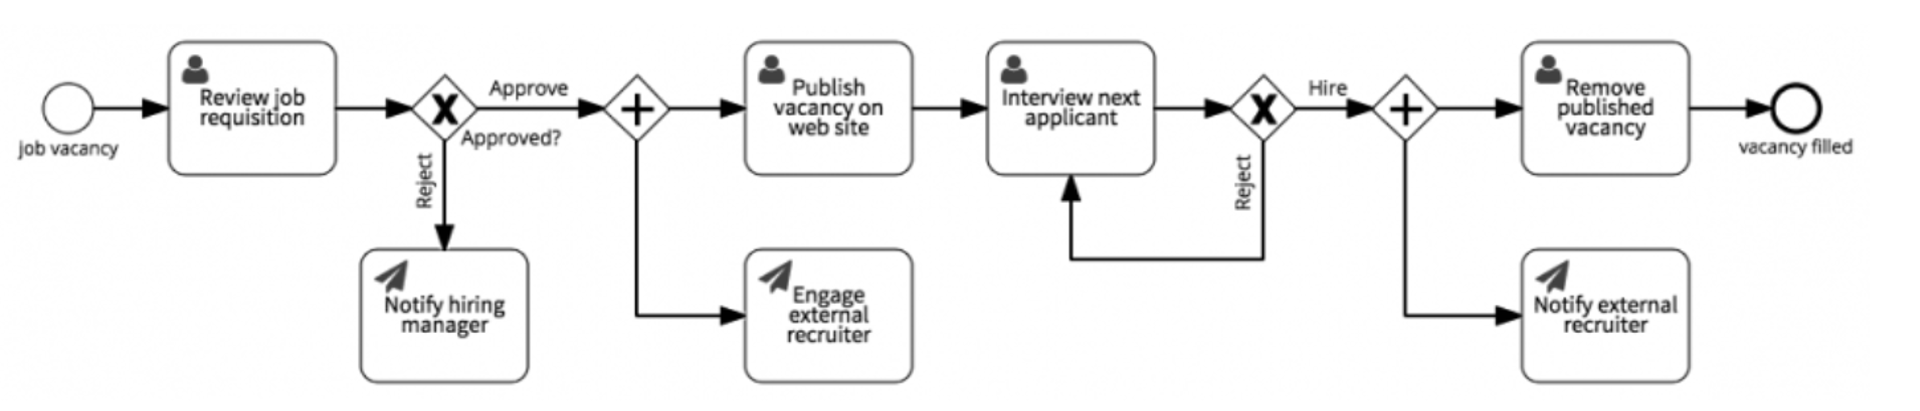
Need help getting started? Here’s a few workflow diagram examples from Signavio.
Approve document
Approve expense claim
Fill job vacancy
Open new customer account
Fulfill purchase order
So… what’s next?
Once you nail down workflow diagrams, try out some of these Lifehacker workflow hacks to get your most important tasks done faster.
- Only check your email at specific times. If you fall into the trap of constantly watching your inbox and trying to reply instantly, you'll soon find that you're doing nothing else.
- Adopt a to-do list. From an old-fashioned list to a project management software tool, the important thing is to have a process. There’s nothing like the satisfaction of checking things off.
- Don’t talk yourself into feeling more swamped than you already are. The worst thing you can do when you're feeling busy is to focus on how busy you are. Escape that negative frame of mind right from the get-go.
- Try a little something called context-switching. Instead of shifting your focus back and forth during the day to many different tasks or meetings, try and dedicate specific days to specific duties.
Stay on top of your game.
Need to know where you and your team stand when it comes to performance? Track your progress and drive results with dashboard reports. With both custom and pre-built options, you’ll be able to interact directly with your data anytime, anywhere. And hundreds on data connectors, means you’ll be able to fit dashboard reporting into your everyday. Now that’s a hack if I’ve ever heard one.
Related Articles

Klipfolio Partner How-To #1: Duplicating dashboards across client accounts
By Stef Reid — November 27th, 2025
Klipfolio Partner How-To #2: Company Properties can simplify client set-up
By Stef Reid — November 26th, 2025
The Ultimate Guide To Perfecting Your SaaS KPIs and Metrics
By Marisha Sesto — October 21st, 2025