

Summary - Deploy a lifecycle program in HubSpot using a five-step project framework. This guide walks you through discovery, design, build, deploy, and review phases to create a best-in-class lifecycle program that aligns your sales and marketing teams.
A lifecycle program in HubSpot is the foundation of a best-in-class marketing operations discipline. By investing in lifecycle stages, you unlock better reporting, more efficient sales and marketing processes, and a roadmap for future optimizations.
What is a lifecycle program?
A lifecycle program is a set of marketing operations workflows or rules that govern how a contact progresses from first touch to paying customer. In HubSpot, this means setting up logic to manage lifecycle stage properties. These programs are the backbone of modern marketing automation—they're foundational, like learning HTML as a front-end developer.
While plenty has been written about what a lifecycle is, less has been written about how to deploy one in your HubSpot instance. This post walks you through deploying lifecycle stages from a project management lens.
Why setting up lifecycle stages is challenging
Setting up lifecycle stages can be surprisingly difficult, for both technical and human reasons.
HubSpot's default lifecycle properties are intentionally non-editable:
- Subscriber
- Lead
- Marketing Qualified Lead
- Sales Qualified Lead
- Opportunity
- Customer
- Evangelist
- Other
This constraint serves an important purpose: it forces you to translate your sales and marketing processes into a single, standardized model. The real challenge isn't the simplicity—it's getting your team to agree on what each stage means for your business.
The human factor is invariably harder than the technical setup. Resistance often stems from the belief that your process is uniquely complex. In reality, these default stages aren't meant to mirror every customer interaction. They provide a roadmap for reporting and optimization.
How to organize your lifecycle project
Deploy lifecycles through a five-step process that accounts for the human factor and uses clear signals to move from discussion to implementation:
- Discovery
- Design
- Build
- Deploy
- Review
Lifecycle discovery
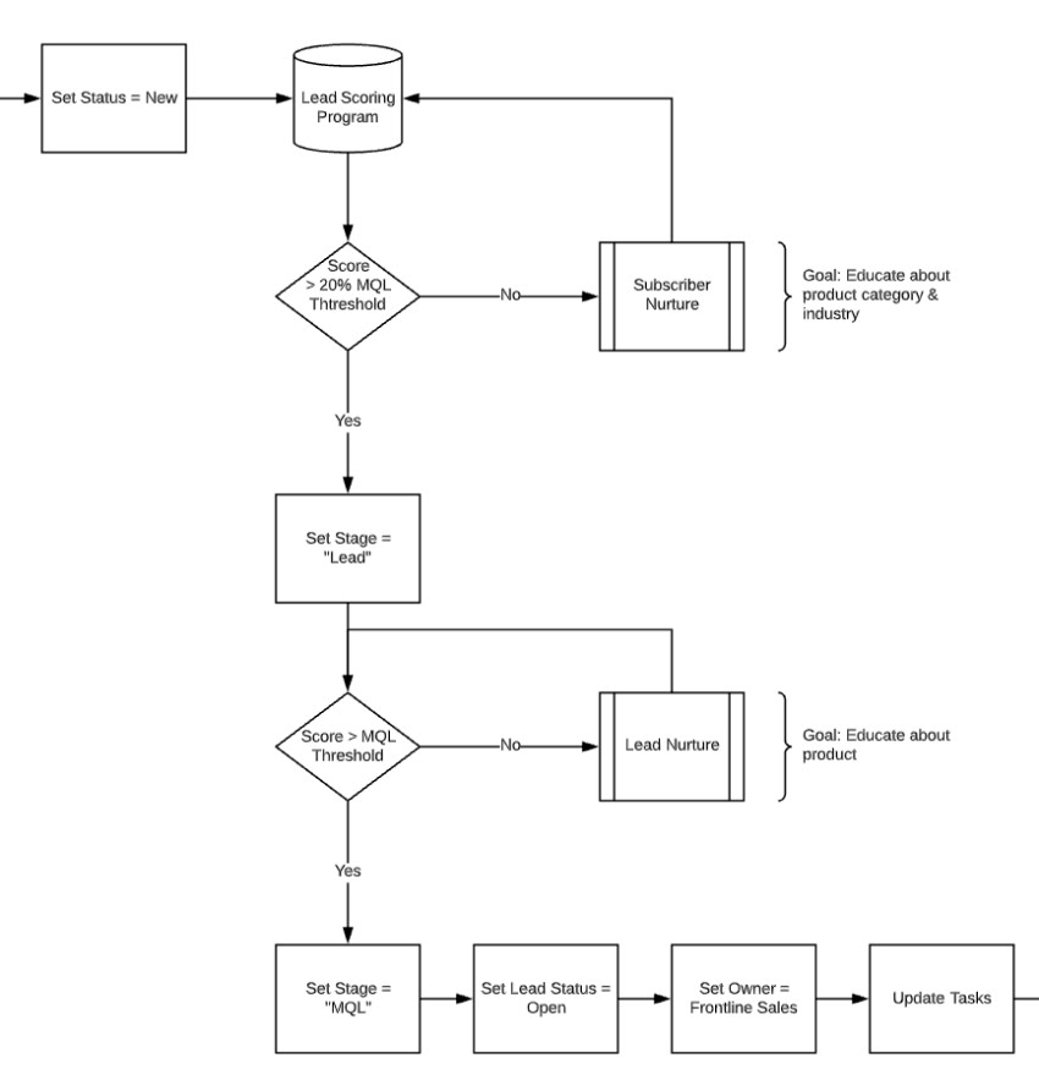
Start by mapping your current lifecycle through a flowchart. This step reveals how your process actually works today and where critical moments occur in the customer journey.
Skip this step at your own peril. Your team is already using a process—and dictating "best practices" while ignoring it will damage your credibility. Your goal is to demonstrate empathy and work with your team to improve, not to shame them into accepting a new model.
Spend time talking to sales about how they use the lead status field or what pipeline stages mean. This conversation matters more than perfecting your flowchart.

Resist suggesting solutions at this stage. Focus on fully understanding the problems your team faces. Every time I've completed this step with a team, I've found valuable insights that frame both the challenge and the solution.
Wrap up by meeting with stakeholders to review the flowchart. Make sure everyone agrees this reflects your current reality. Keep things neutral and avoid judgment. End with an action item to begin designing an improved lifecycle and identify who needs to be involved next.
Designing your HubSpot lifecycle
Your second deliverable is another flowchart—but this time, you'll spend the first part of this stage in focused isolation. Blend the human elements you learned in discovery with your marketing operations expertise.
Map out processes that will become workflows. If you mark down a progression from Lead to MQL, track the mechanism for alerting sales, managing data, and other automation pieces you'll need.
At this stage, recommend an MQL model for your HubSpot instance and map how it impacts nurture automation and contact ownership.
The secret to success is balancing feedback while avoiding endless rabbit holes. Don't save your design for a "big reveal." Instead, meet with stakeholders separately to get input on small sections. For example, meet with sales about the SQL-to-Opportunity-to-Customer progression. You're streamlining feedback, not isolating groups from the full picture.
Avoid over-engineering your lifecycle stages. HubSpot's default property enforces simplicity and standardization across the industry. You can always change it later.
Exit this stage by meeting with stakeholders and getting official sign-off on the design. A few revisions at this stage beats updating workflows in HubSpot later.
Building your lifecycle stages in HubSpot
Up to this point, you should have built zero workflows in HubSpot. The previous stages gave you the information and approvals you need to build without interruption.
Now you'll do significant work in HubSpot. Here are the typical tasks:
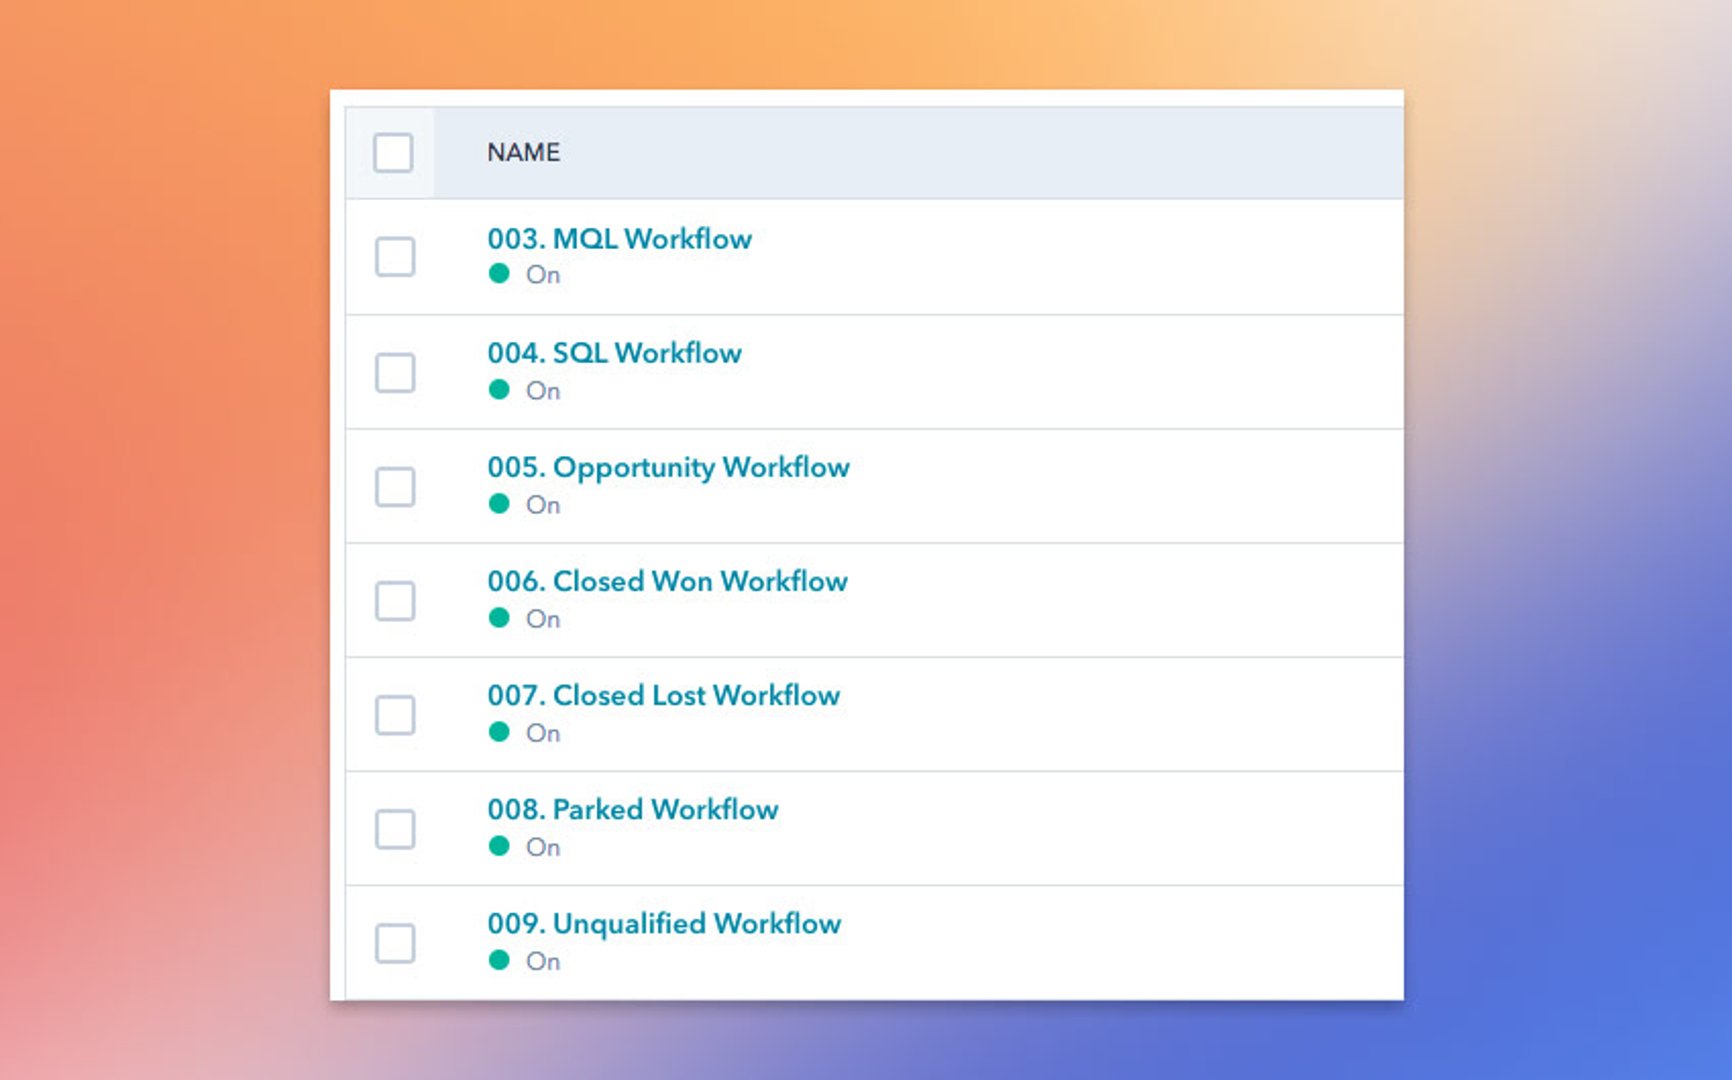
- Build a workflow for each lifecycle stage
- Set up a lead scoring model for MQLs
- Check the chain of custody for contact ownership
- Create new properties to account for lifecycle customizations
- Update existing properties, such as lead status, to fit your new model
Two critical notes about the build stage:
First, use a HubSpot sandbox account to set this up and test. If that's not available, ensure workflows initially apply only to a static list with test contacts.
Second, set up a remediation plan for contacts that exist before your new lifecycle goes live. This extra work ensures consistent, logical reports instead of a sudden reporting cliff where new definitions skew numbers and erode confidence in your marketing metrics.
Deploying your lifecycle in HubSpot
This stage activates all lifecycle workflows, enables sales team adoption, and starts reporting dashboard setup.
But it begins with creating training material and documentation. Run at least a few training sessions before launch, even if your team was involved in all decisions. Their day job isn't to make HubSpot efficient—it's to make revenue, launch campaigns, write emails, and close opportunities.
Field questions with compassion and understanding. You're the expert, and patience cements that expertise. Don't be defensive about last-minute feedback, and weigh it thoughtfully.
Until you deploy the model, you won't know exactly how it works. Be vulnerable and open to suggestions. Minor issues will likely need workflow updates or property modifications. You'll be tweaking the lifecycle as long as your HubSpot instance is active, so track and correct issues as they arise.
Once training is done, launch early in the week so you have time to track and fix issues. Friday at 4pm isn't ideal unless you're supremely confident.
Celebrate the win—throw a pizza party, plan a vacation day (two weeks after go-live, just to be safe), or collect high-fives from your team.
Review your lifecycle
While front-line teams execute the new process, your work continues. Focus on setting up reporting.
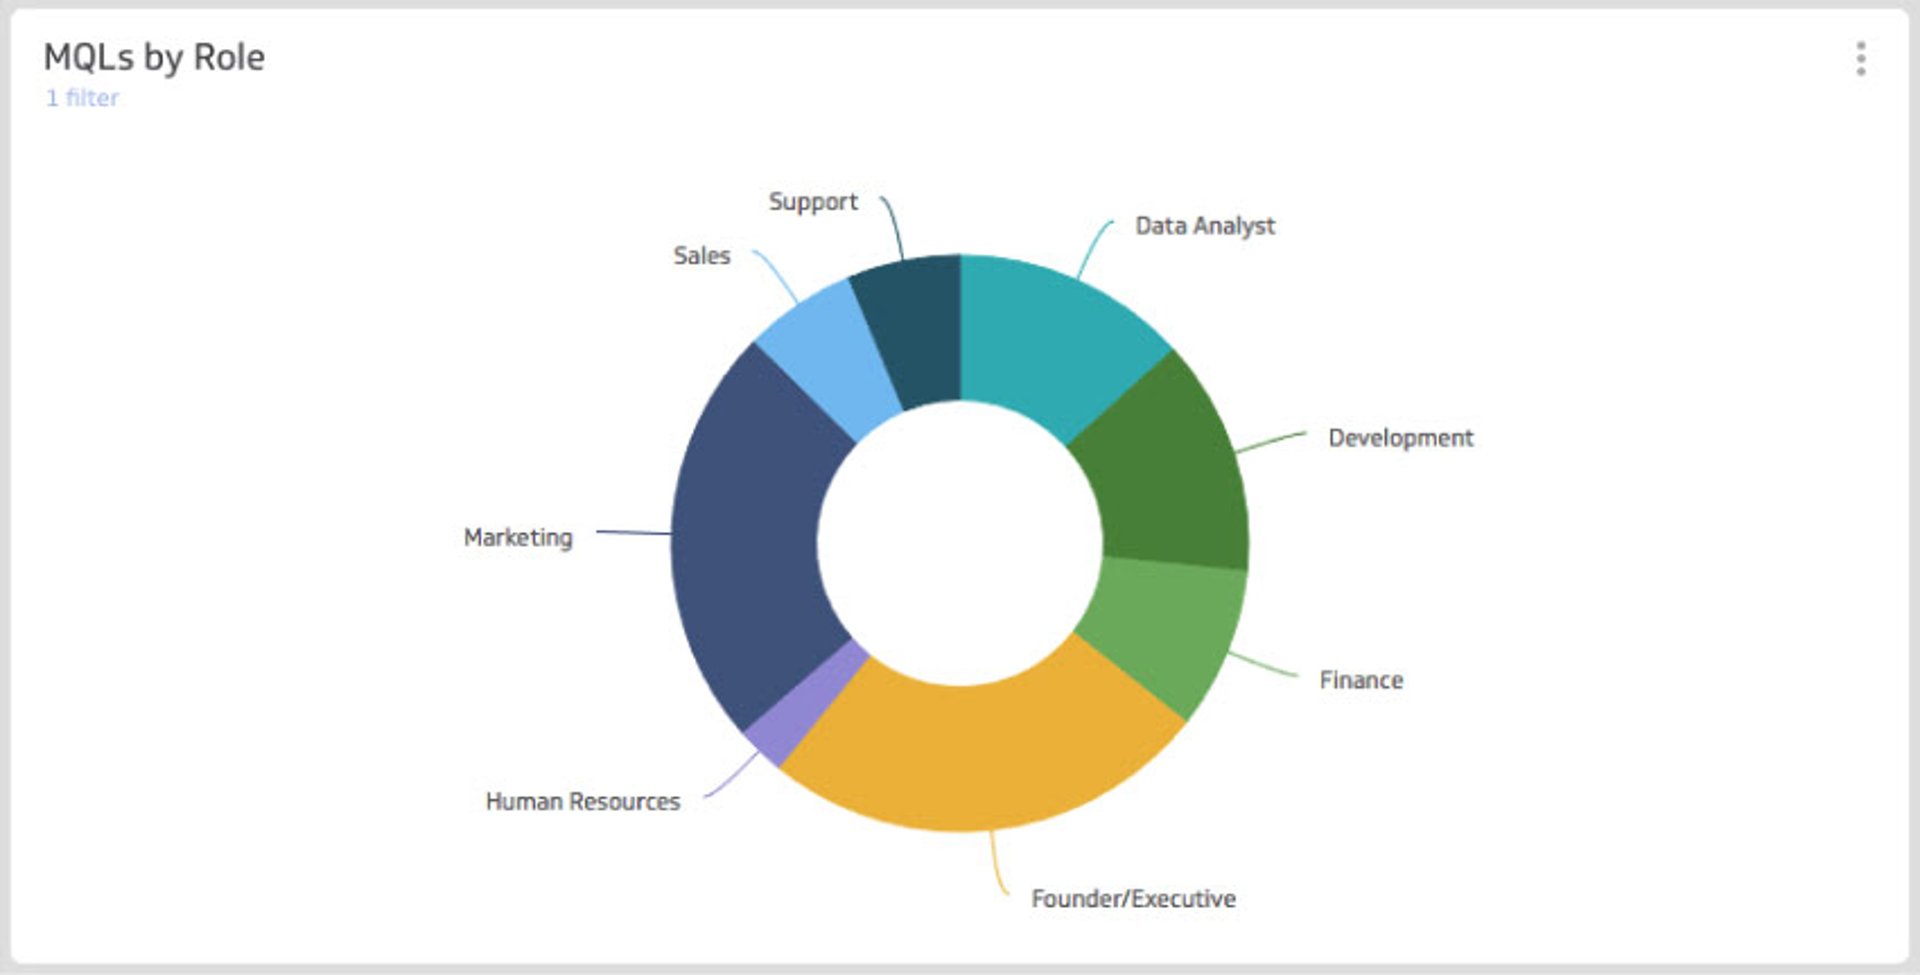
The lifecycle lets you answer critical questions: How many MQLs did you generate last month? How many MQLs by role or persona?
Start benchmarking conversion rates from stage to stage. One of the most valuable metrics is MQL to SQL conversion rate—it shows how many marketing-qualified leads your sales team wants to follow up with. Also called MQL acceptance rate, it's indicative of lead quality and sales/marketing alignment.

If your marketing-generated leads are being rejected, they're either poor quality or the sales team isn't following the process. Aim for an 80% or higher conversion rate for this metric.
Reporting is often where you'll first notice the benefits of your newly deployed lifecycle. Historic data takes time to accumulate (unless you're skilled at remediation), but results are gratifying from the start.
During this stage, meet with stakeholders, set up regular syncs with sales and marketing, and share reports with your exec team.
One thing is mandatory for long-term success: establish a regular sync with sales and marketing on your MQL process. If you're driving an inbound process, how you handle MQLs is critical. This conversation should answer:
- Did marketing hit their MQL targets?
- Did we achieve our MQL-to-SQL acceptance rate target?
- Is lead quality good?
- Were there any errors or bugs in the process?
A well-oiled machine may eventually run these syncs asynchronously or ad-hoc based on data. But early on, hear directly from sales what they think about the leads you're passing them.
Continuous optimization of your HubSpot lifecycle stages
Lifecycle programs sit at the heart of marketing operations. A well-designed lifecycle serves as the bedrock for conversion rate optimizations across your customer journey.
You can deeply analyze conversions like MQL-to-Opportunity to see how effectively marketing drives sales pipeline and revenue. A high-performing campaign might prompt you to build attribution properties, use HubSpot's campaign reporting feature, or explore a third-party attribution tool like Dreamdata.
By deploying and managing this program, you've gained a key skill that transfers well beyond HubSpot. The essence of excellent operations work is translating business requirements and human input into workflows and logic. Few initiatives force you to apply these skills as thoroughly as a lifecycle program.
Related Articles
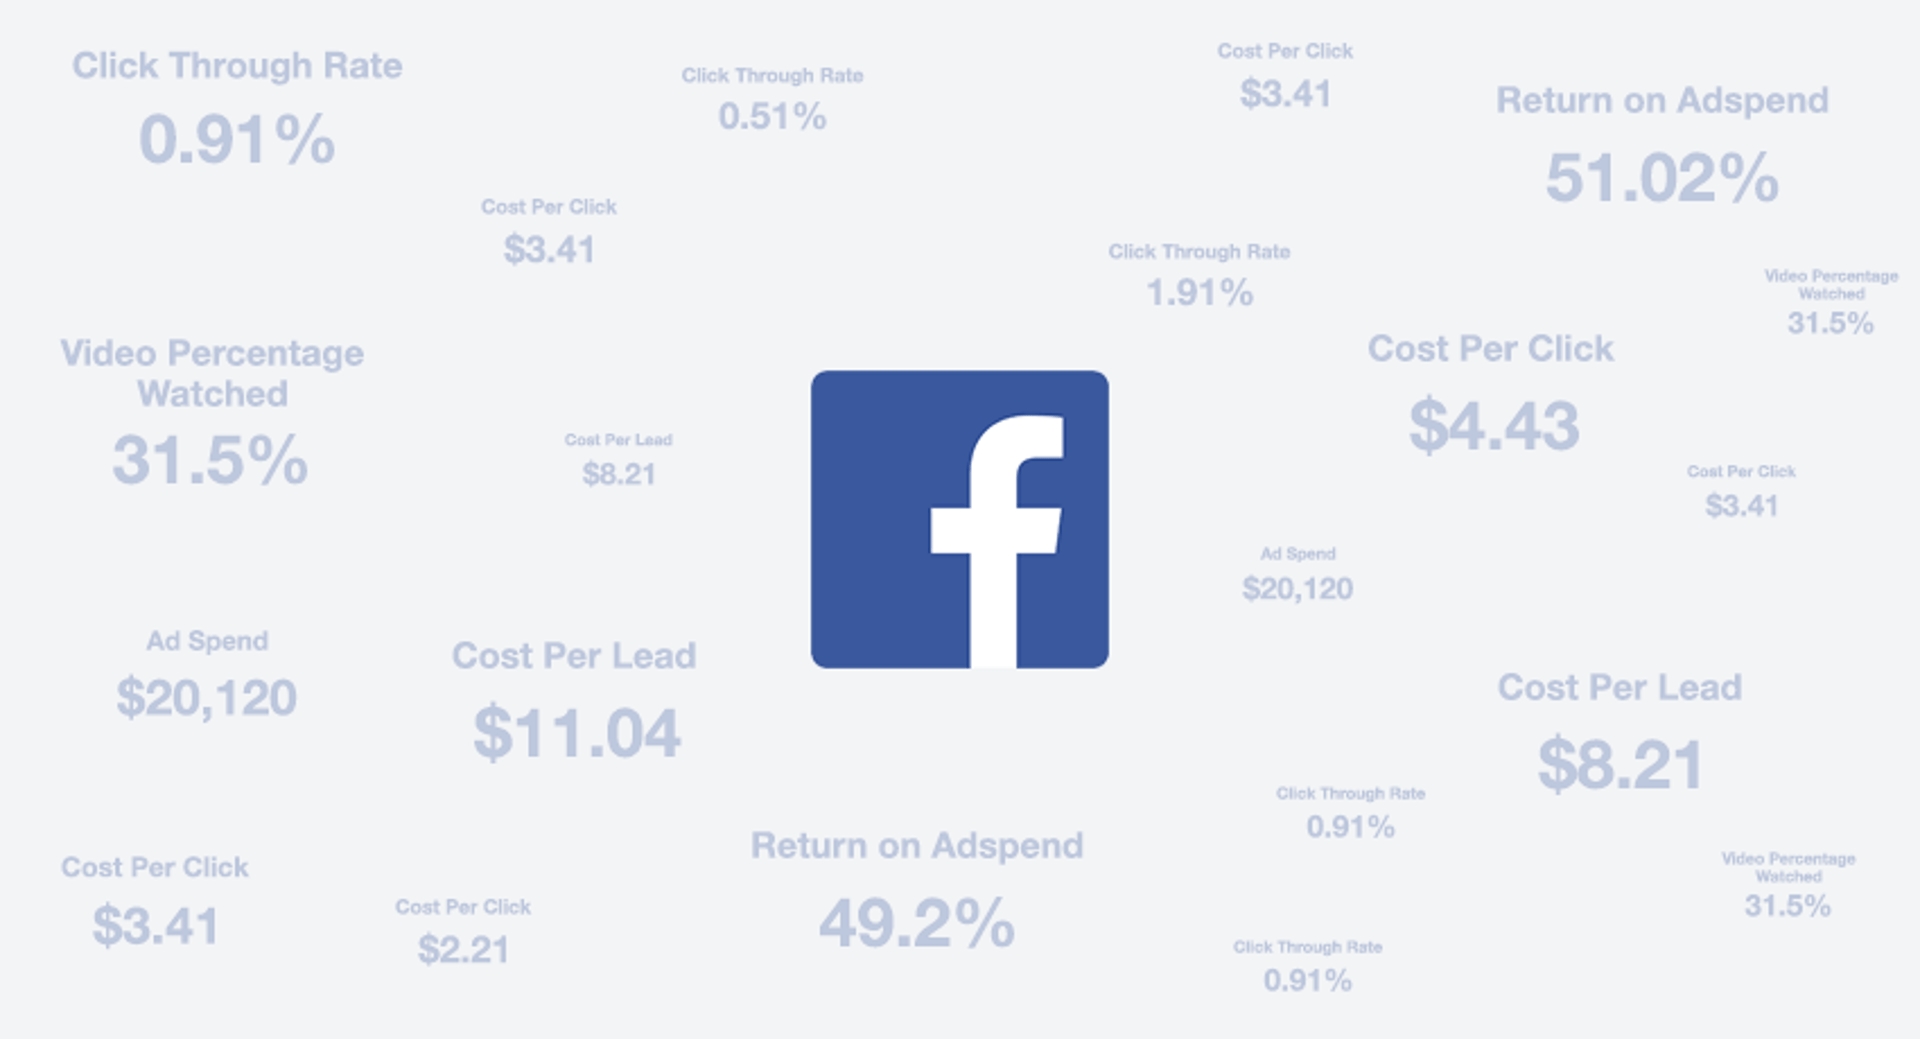
6 Facebook ads reports every agency needs to attract and retain high-ticket clients
By Tanya Brody — April 10th, 2026
The 5 most important SEO KPIs for digital marketing success
By Sanket Patel — February 24th, 2026
What are the best inbound marketing KPIs?
By Jonathan Taylor — December 17th, 2025