
Summary - Learn how to connect Zapier and Klipfolio Klips to automate data updates, enrich metrics with AI, and build dashboards that stay accurate and up to date.
Klipfolio has always been about putting your data to work in beautiful, accessible dashboards. But as your stack of business apps grows, moving data around manually becomes time-consuming and error-prone.
That’s where Zapier comes in.
Zapier is the automation platform that connects your favourite apps—now numbering in the thousands—and lets them work together. Instead of manually exporting data from one app and uploading it into another, Zapier listens for triggers (like a new lead, a new ticket, or a new Slack message) and performs actions in another app. With the Klipfolio Zapier integration, those actions are all about keeping your dashboards up to date.
Building dashboards with Zapier and Klipfolio
The Klipfolio app in Zapier gives you three powerful ways to manage your dashboard data sources:
- Refresh Data Source – Refresh your data source in Klipfolio when a new event occurs in a connected service.
- Update Data Source – Replace existing data in your Klipfolio data source with new values (e.g., posting text updates or replacing a CSV).
- Add to Data Source – Append new rows to your data source while keeping historical data. Perfect for tracking trends over time. (Note: your data source must be in CSV format for this option.)
Each of these actions can be triggered by any of the thousands of apps supported by Zapier—whether it’s Gmail, Google Drive, HubSpot, Slack, Shopify, or more.
What You Need Before Creating a Zap
Before you dive in, there are two important setup steps on the Klipfolio side:
1. Add a blank data source in Klipfolio
- You’ll need to create a blank data source in Klipfolio (Excel, CSV, JSON, or XML).
- The format of your blank data source must match the format of the data your Zap will send (e.g., a CSV if you’re pulling data from Google Sheets).
- For file-based data sources (like CSV uploads), no refresh is needed. For web-accessible data sources (like JSON feeds), set the Queue for Refresh to Never—because Zapier will handle the refresh.
2. Find your Klipfolio API Key
- Log into Klipfolio, click your Account Name in the bottom-left corner, and select Account > Account.
- Under General Information, copy your API Key. If you don’t have one yet, click Edit and generate a new key.
- You’ll need this API key to authorize Zapier to connect to your Klipfolio account.
Step-by-Step: Creating a Zap with Klipfolio
Here’s how it works:
Step 1 - Choose a Trigger App
Pick one of the apps in Zapier and set the event that will trigger your Zap. For example:
- A new subscriber in Mailchimp
- A new mention on YouTube
- A new row added in Google Sheets
- A new ticket in Freshdesk
- A new message in Slack
- And many more. Explore the possibilities.
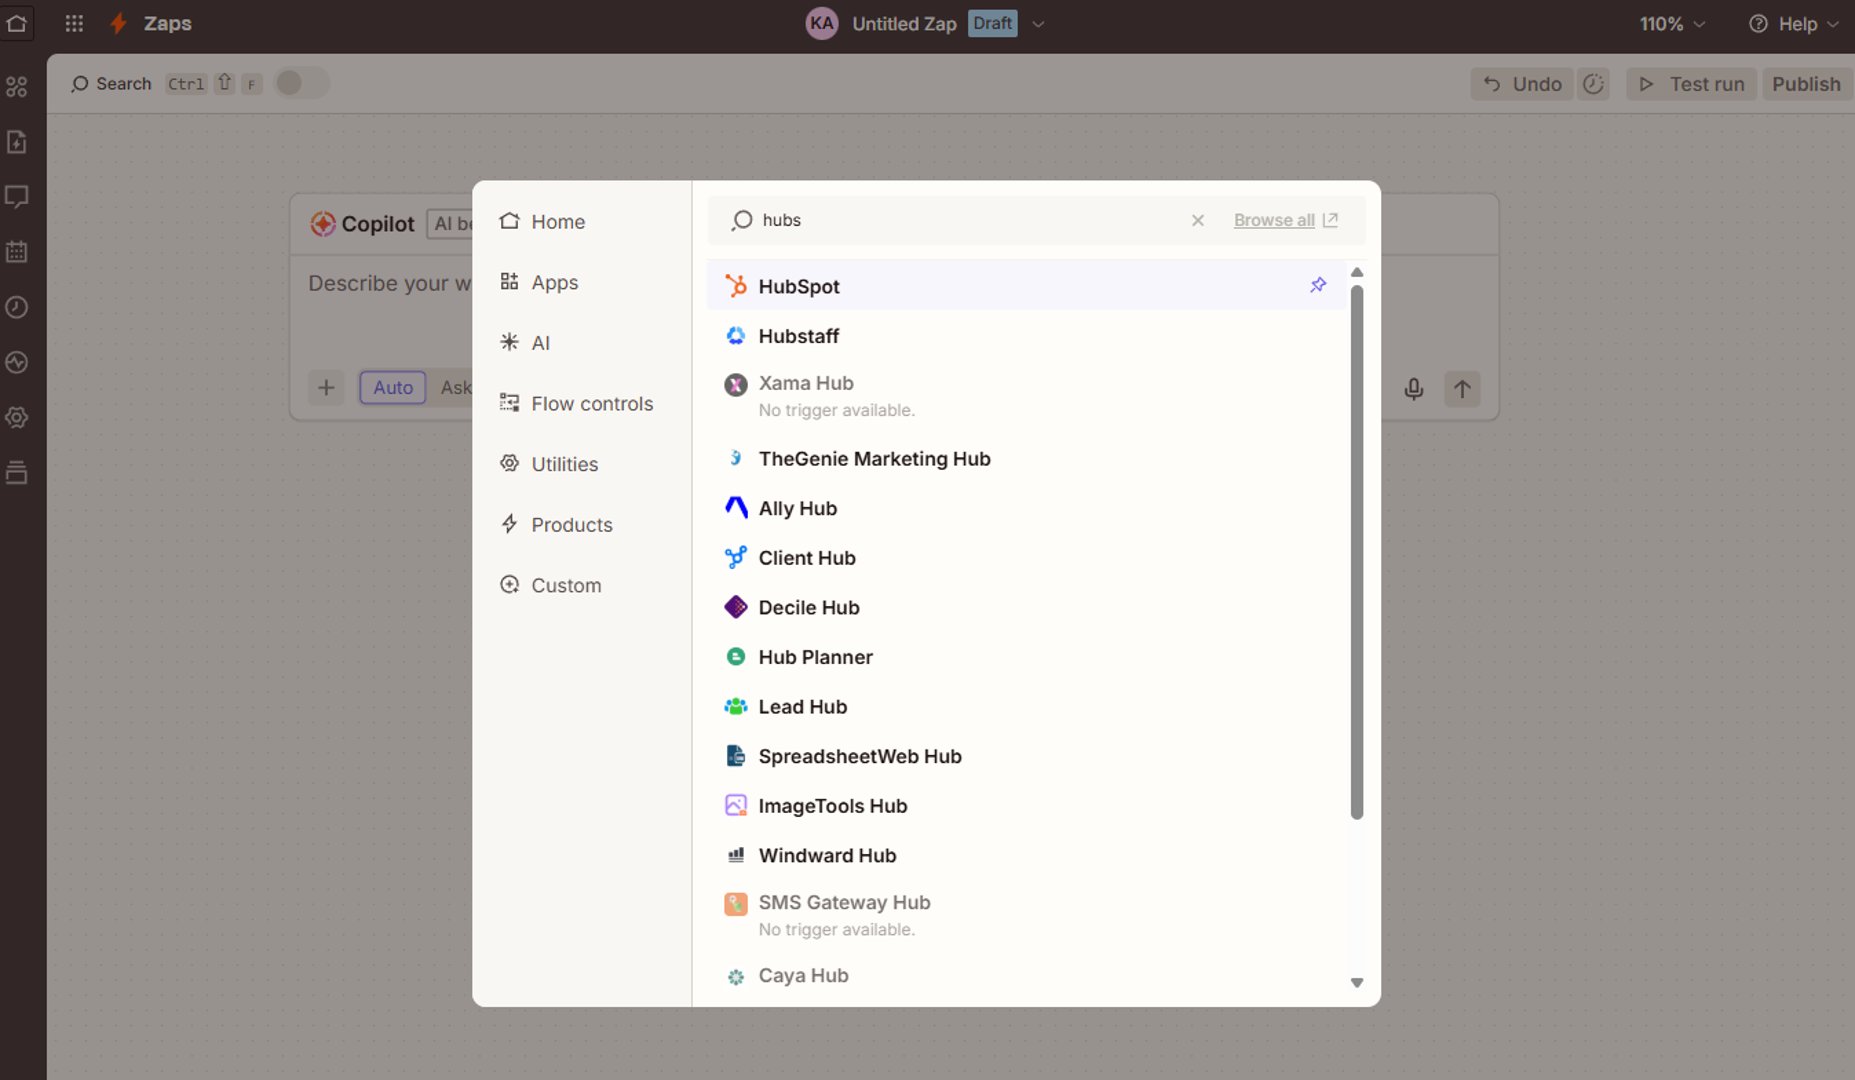
Step 2 - Choose a Klipfolio Action
Select one of the three Actions that are available for Klipfolio in Zapier:
- Update a data source. This can be used to replace the data stored in a data source.
- Add to a data source. Add new rows to a data source and track events over time.
- Refresh a data source.
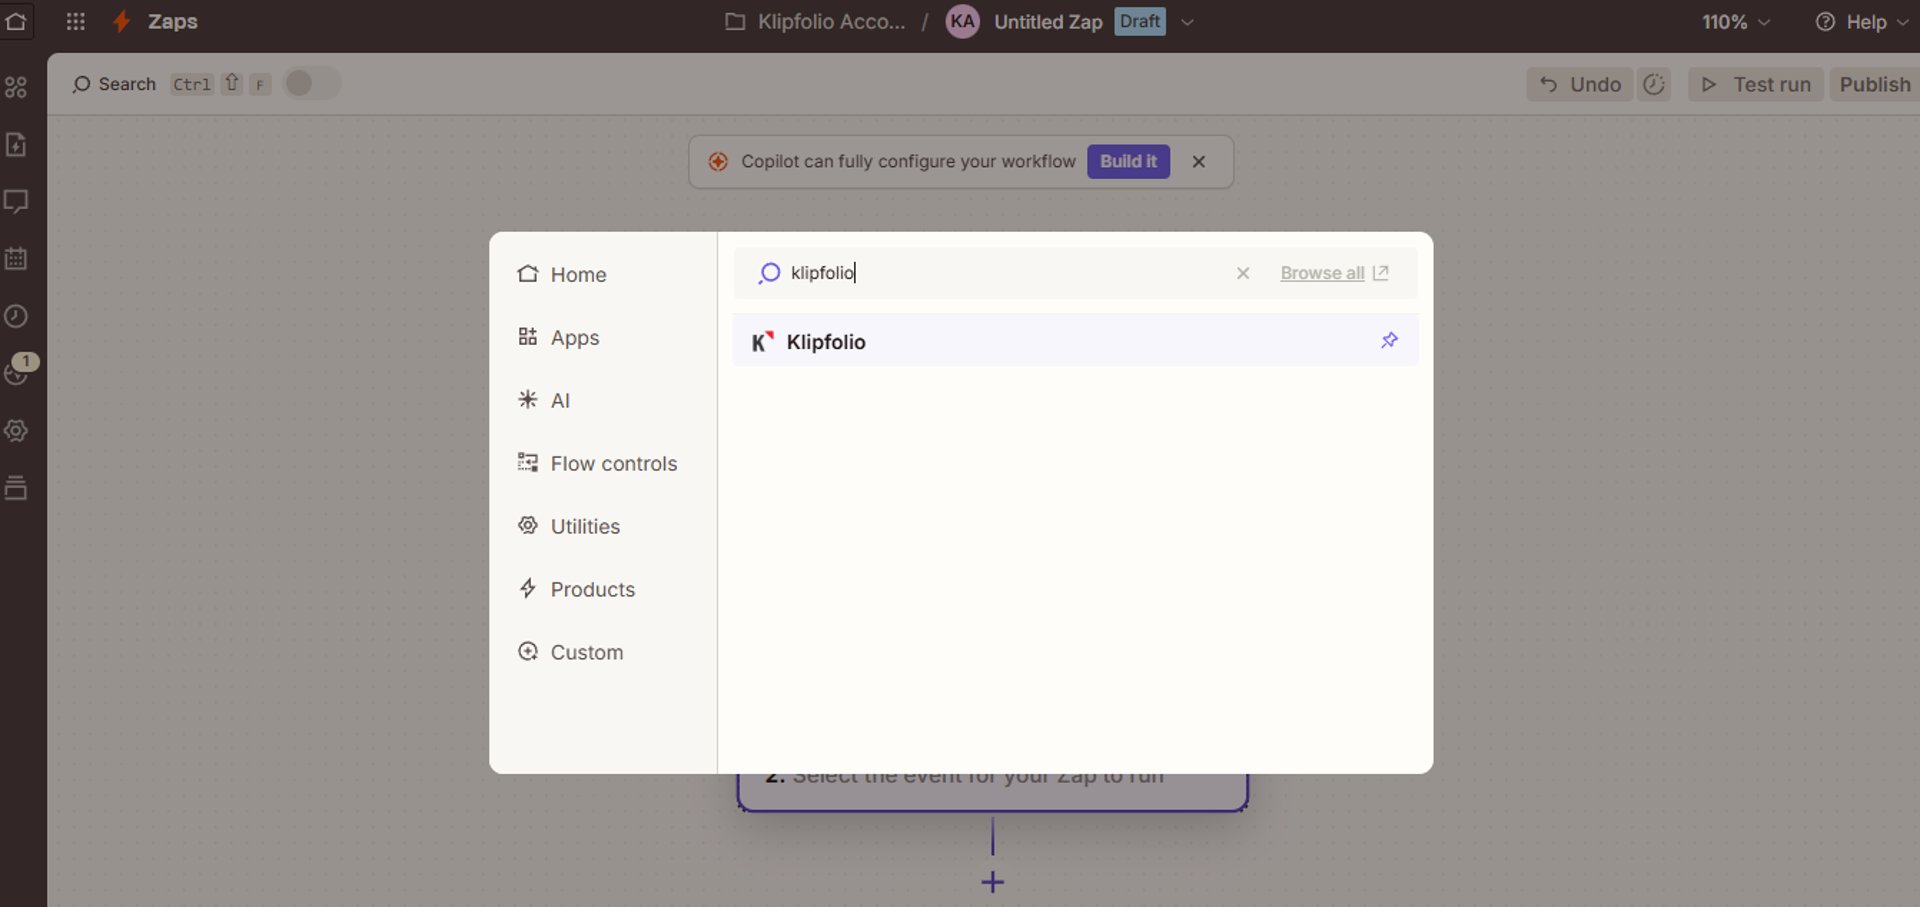
Step 3 - Connect Klipfolio
Authorize Zapier with your Klipfolio API Key, then select the data source you want to update.
Step 4 - Map Your Data
Tell Zapier which fields from your trigger app should map to the columns in your Klipfolio data source.
Step 3 - Build a Klip for your Dashboard
Run a test, confirm the data flows correctly, and then turn your Zap on. Your dashboard will now update automatically when the trigger occurs.
For detailed instructions please check out the Guide to working with Zapier.
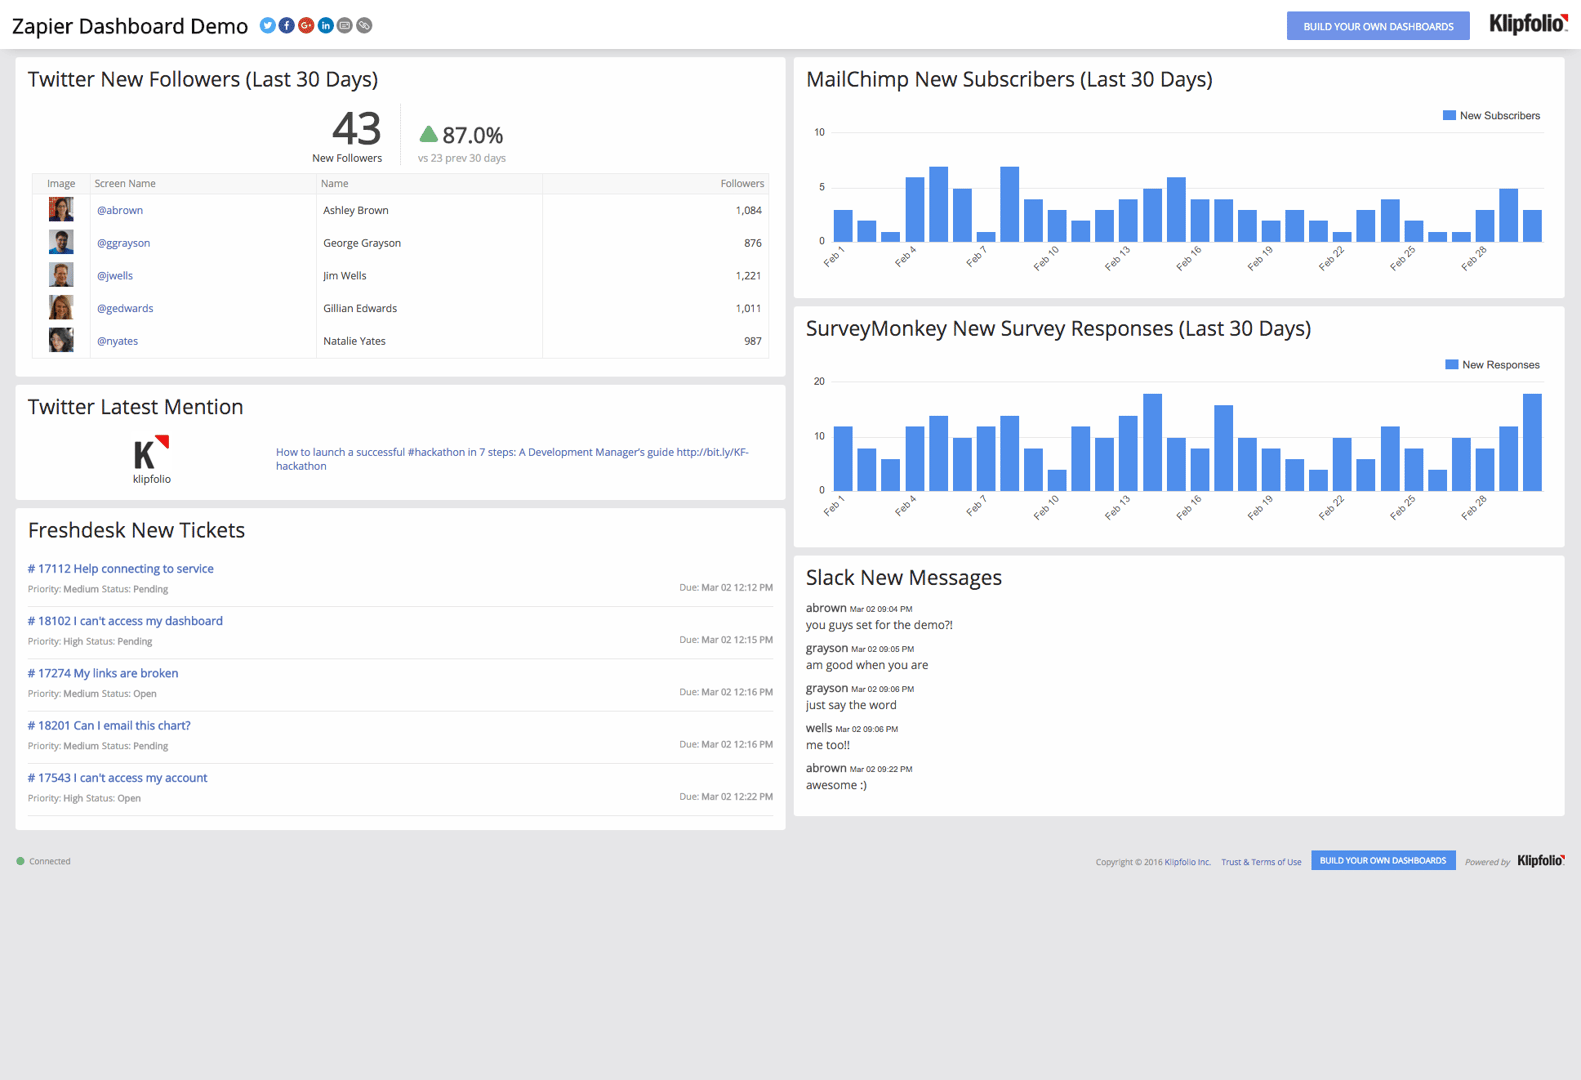
Example Dashboard Automations
Here are just a few ways you can put Zapier + Klipfolio to work:
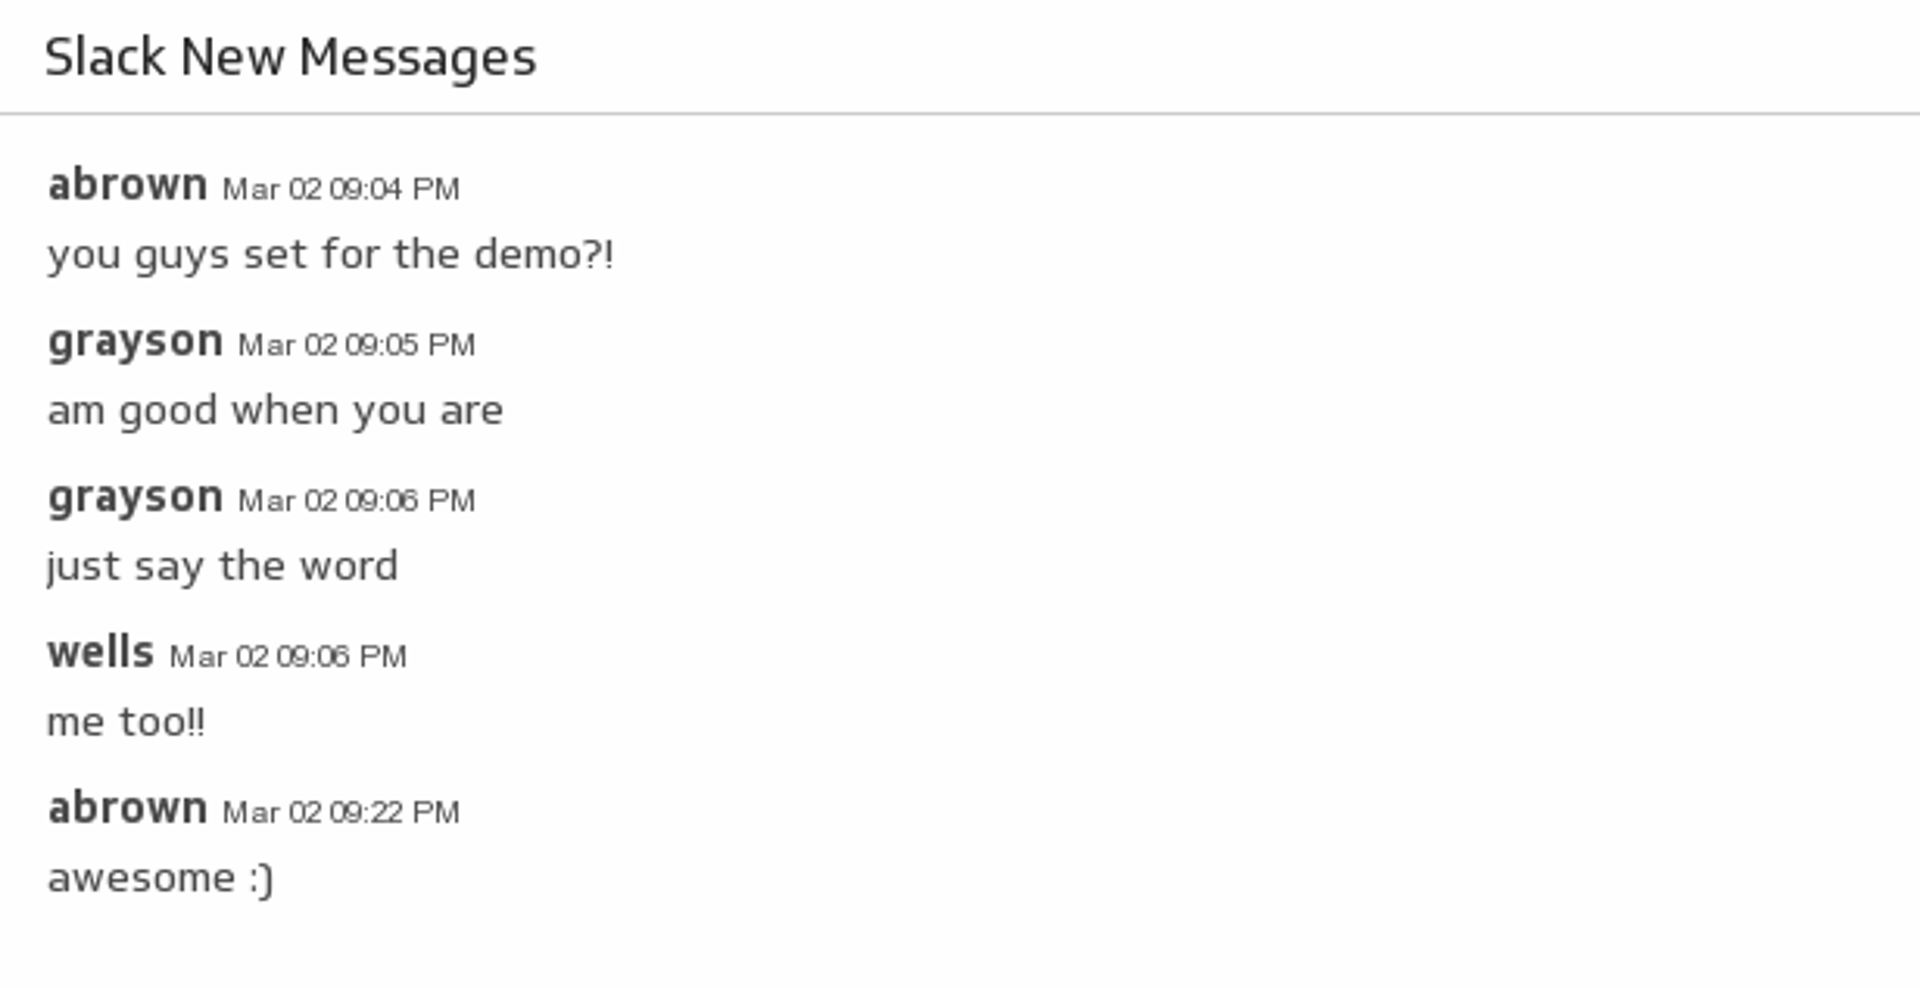
Slack New Messages
Make it easy to see the conversations on your favourite Slack channel by adding it to your dashboard.
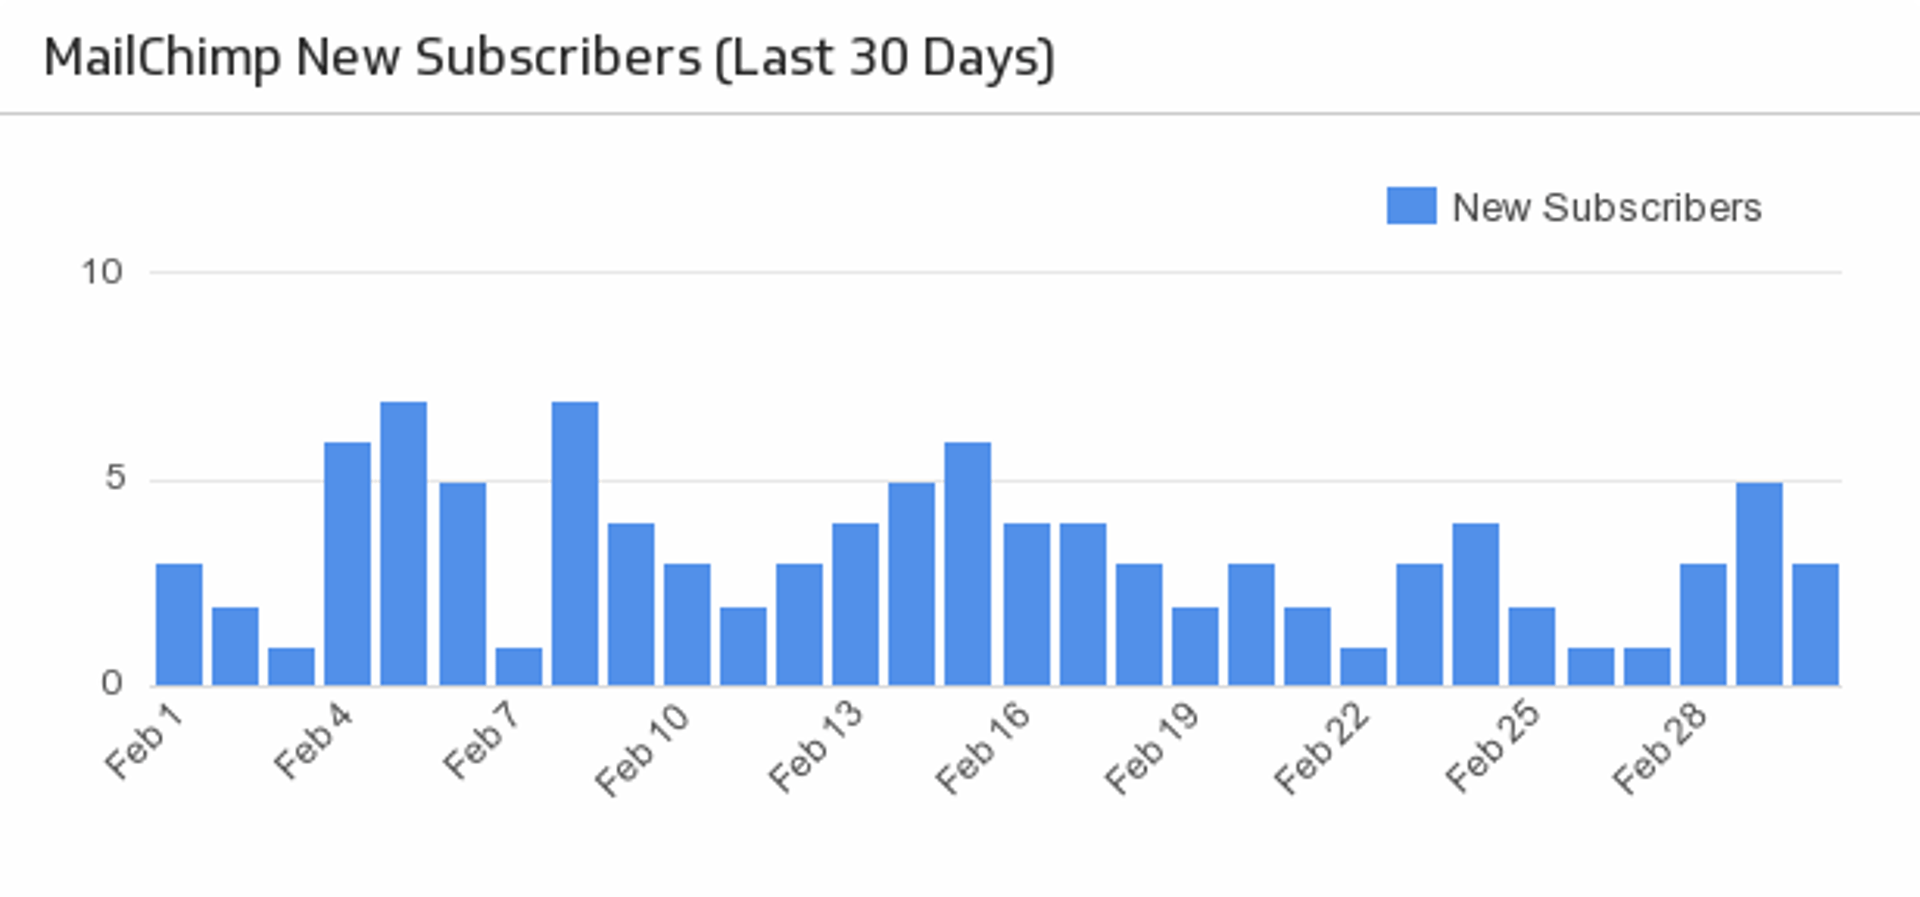
MailChimp New Subscribers (Last 30 Days)
Make sure your MailChimp email campaigns are fruitful with a handy bar chart monitoring the daily number of new subscribers over the past month.
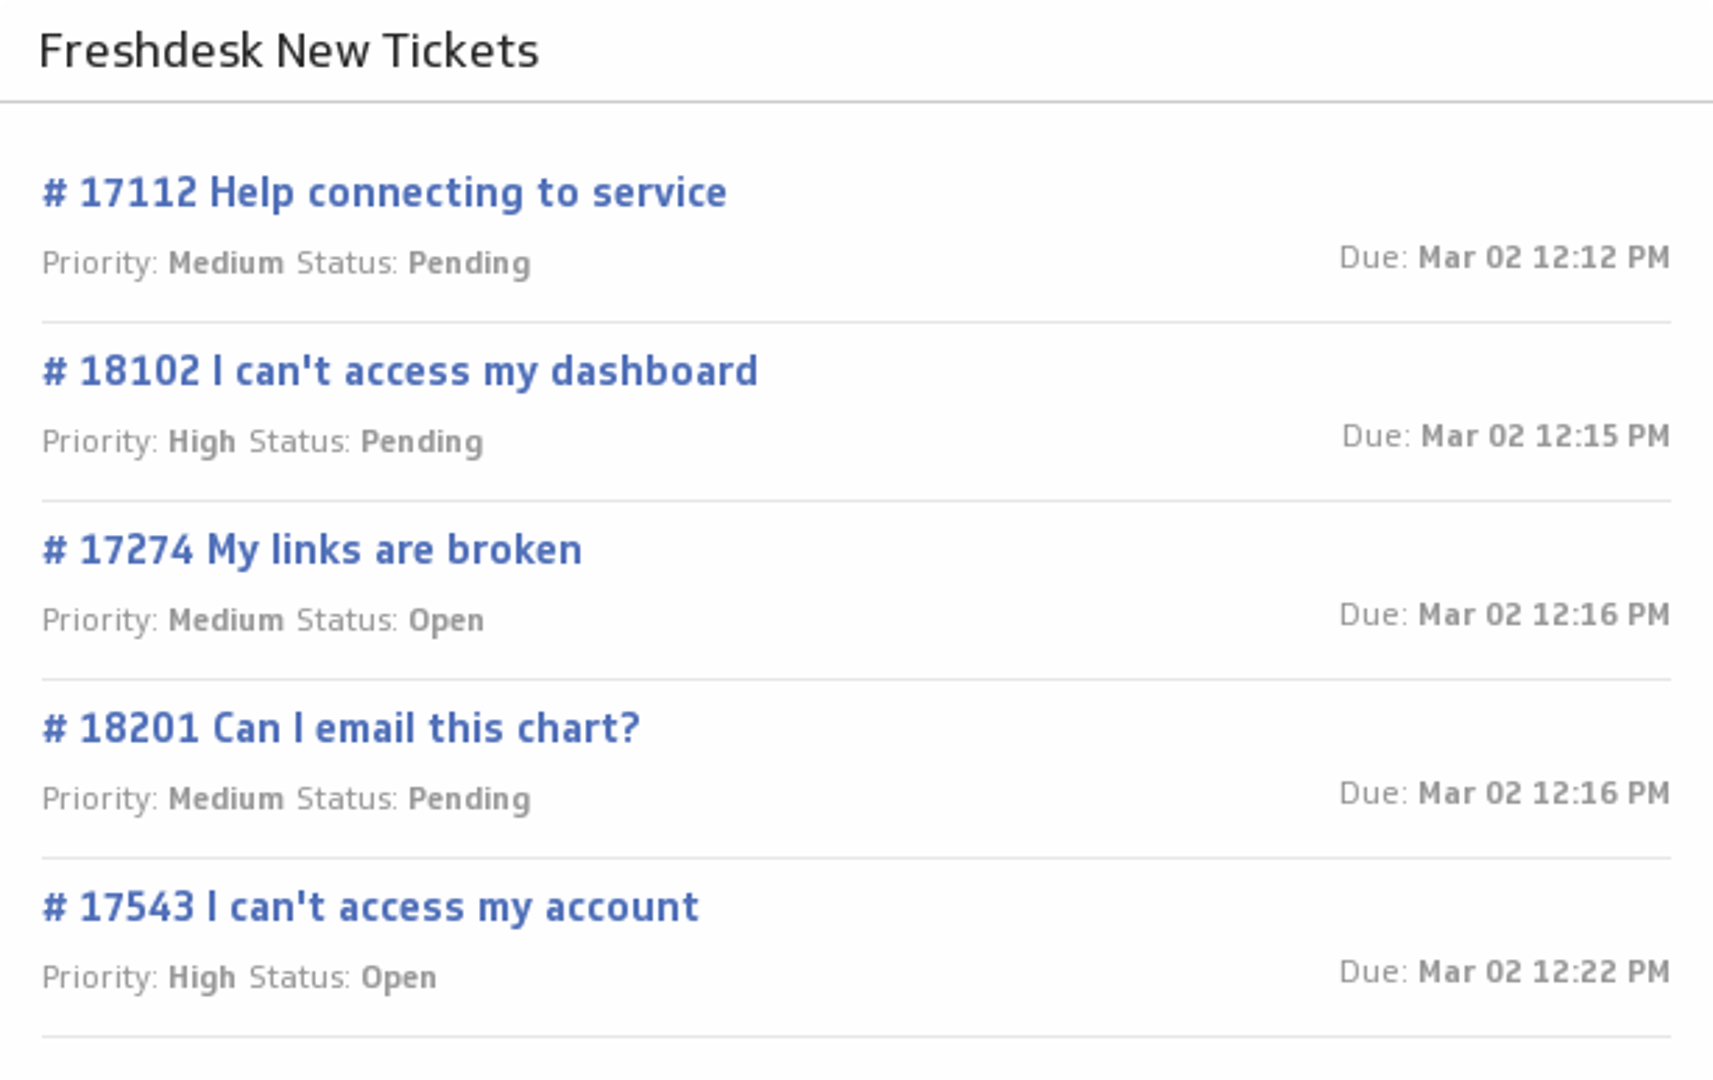
Freshdesk New Tickets
Be the best customer support team you can be! Add a list of your latest Freshdesk tickets to your dashboard, and track their status and priority levels.
Going Further
Remember: Zapier isn’t just about moving raw data. With its growing AI orchestration features, you can enrich the data before it reaches Klipfolio—summarizing text, categorizing feedback, or scoring leads. Combine that with Klipfolio’s ability to mash up and visualize multiple data sources, and you’ve got a dashboard that’s more than just numbers—it’s actionable insight.
Ready to Build Your First Zap?
Here are two resources to help you get started:
With the combined power of Klipfolio Klips and Zapier, you can save time, eliminate manual reporting, and get your entire team aligned around the same, always-up-to-date numbers.
Related Articles
6 dashboards I use daily to run my SaaS company
By Allan Wille, Co-Founder — April 10th, 2026
Klipfolio Partner How-To #1: Duplicating dashboards across client accounts
By Stef Reid — November 27th, 2025
Klipfolio Partner How-To #2: Company Properties can simplify client set-up
By Stef Reid — November 26th, 2025